The Big 20/20 Event eBook is here!

As promised, you will get an eBook of The Big 20/20 Event!

Free-ebook

I'd like to thank Sarah of A Cat Like Curiosity for organizing this event and letting me to be a part of it. She's actually the one who has compiled all the tutorials into one eBook!

In case you missed it, The Big 20/20 Event is an event that is all about creativity, ideas, instructions, and all things inspirational. Each day for the past 20 days, we have been posting some tutorials for you. You can download the eBook or go here to read the posts of The Big 20/20 Event. The tutorial I posted is a tutorial on how to make your own pin cushion.

I hope you have been enjoying The Big 20/20 event! I also hope you will enjoy the eBook!

Download-Button

Facebook-buttonTwitter-ButtonPinterest-buttonNewsletter-Buttons

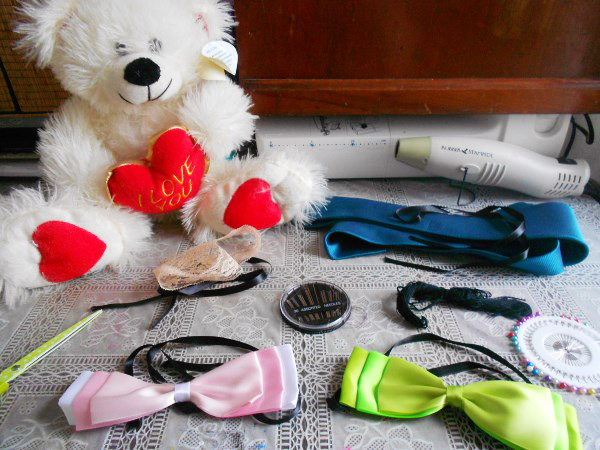
The Big 20/20 Event: Day 20: 4 Ways To Make A Hand Stitched Cat's Collar


This post is brought to you by the lovely Sarah.


Hey there! Today I wanted to share with you some cute little cat collars I stitched recently for my beloved kitties :) I love making things for them and pestering them for photos - they don't like it quite so much though ;)


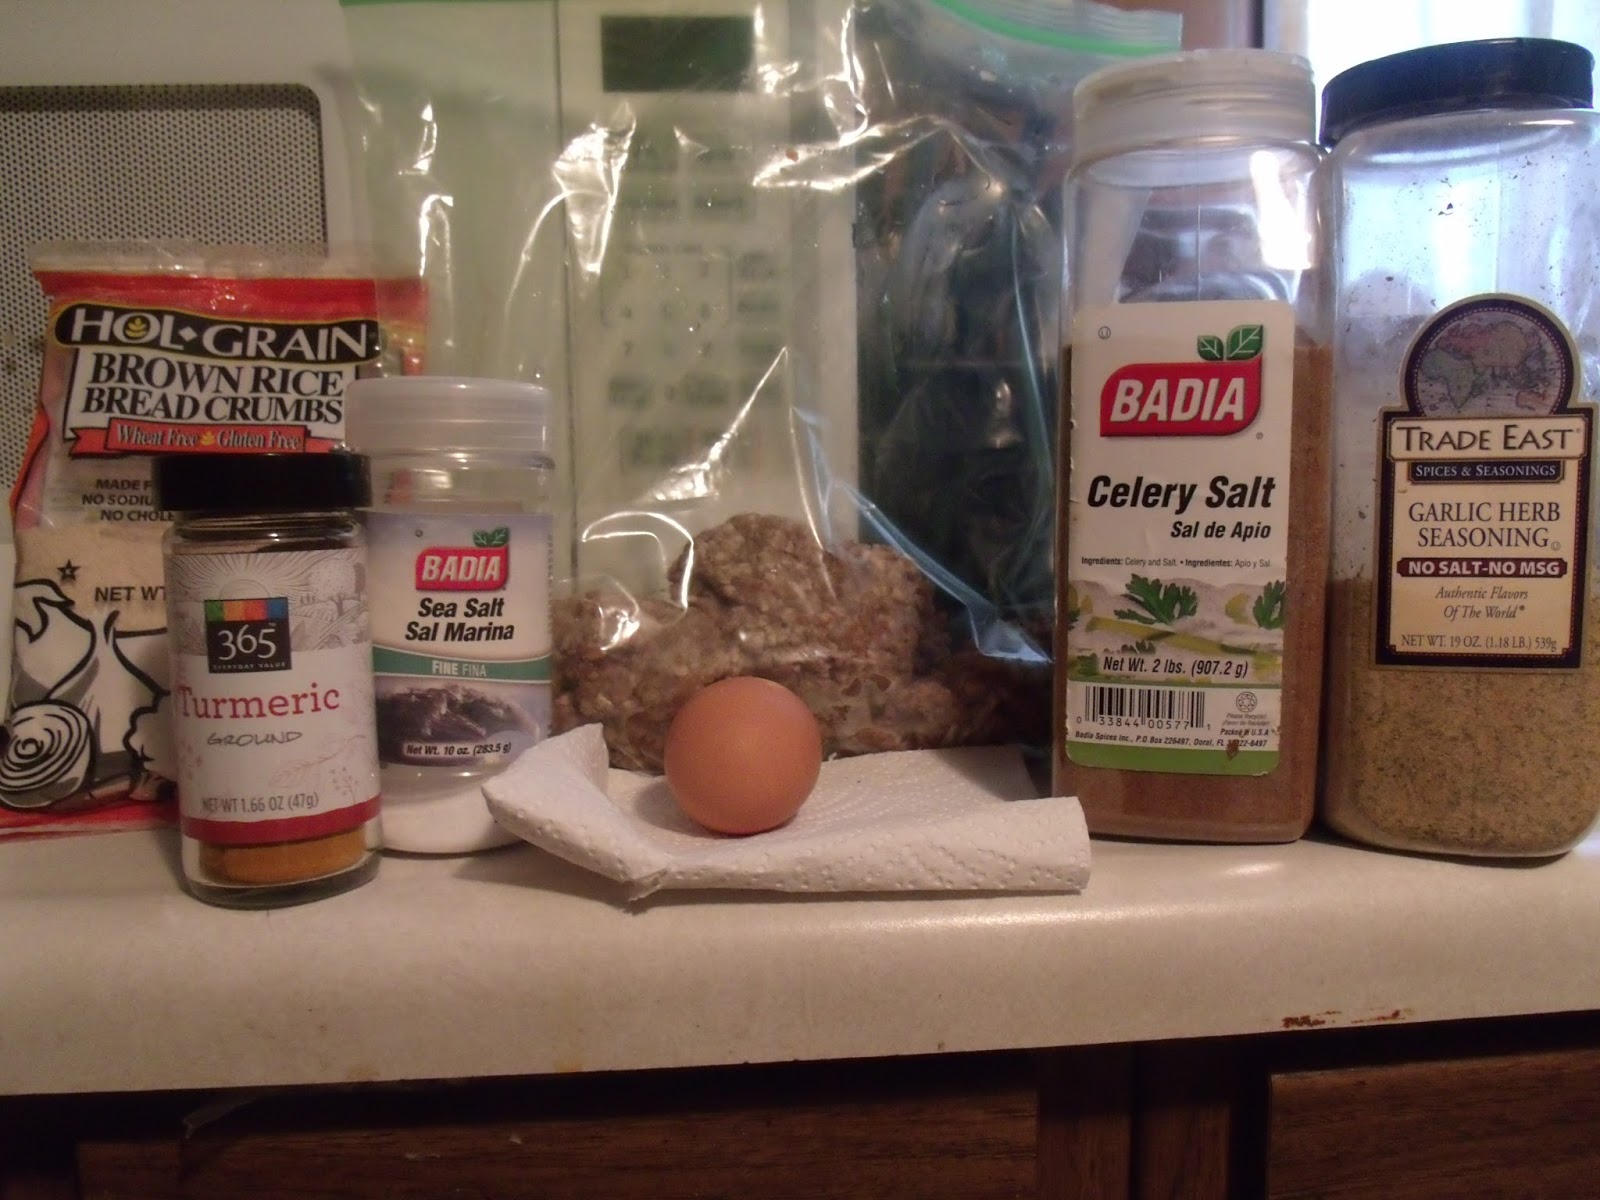
The Big 20/20 Event: Day 19: Make Your Own Bison Meatloaf


This post is brought to you by the lovely Jamie.


Recently, I’ve gotten into organic eating and have begun fixing different meals at home. I’m not an expert chef by any means, but I am trying. :) This may not be the most original of meals, but I tried to put my own twist on an old favorite.


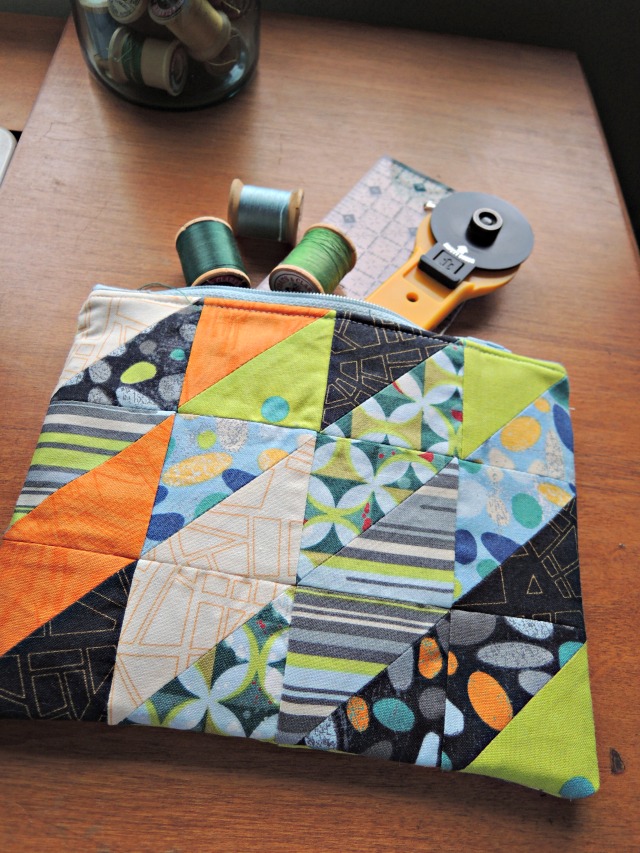
Half Square Triangles Zipper Pouch

Half-square-triangles-zipper-pouch.jpg

I made this for last week's Relief Society activity. The activity was called "Share Your Talent Auction". It was so much fun! So pretty much everyone offered something. Some of the talents offered were helping with spring cleaning, three hours of sewing, a handmade scarf, bags of granola, etc. We didn't use money, instead we were given two-page-long questionnaire by which you get points. It was skewed though! Lol, the first question was 5 points for each year you have been married. Then the rest of the questions were just 5 points if you did this, 5 points if you did that. I've only been married for less than a year, while my mother-in-law, she has been married for more than 30 years! Haha she got more points on that one question than the points I got for the whole page of the questionnaire! Anywho, it was all fun though! I actually won a rich chocolate cake! So goood, it is definitely very rich!

The Big 20/20 Event: Day 18: Make Your Own Crystal Grid

c4


This post is brought to you by the lovely Sierra.


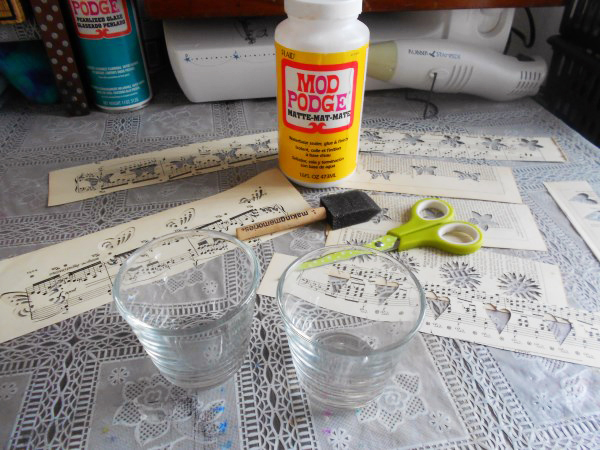
The Big 20/20 Event: Day 17: Make Your Own Candle Votive Holder

you will need


This post is brought to you by the lovely Sarah.


This is a really simple diy I did for my own home recently but in fact would make a wonderful simple handmade gift for family and friends too!


Here are all of the details.


The Big 20/20 Event: Day 16: Making Your Own Art Journal Part 2

wIMG_8026


Supplies:
- Awl
- Sketch Book (I used Canson Watercolor 140lb 9"X12")
- Bone Folder (a ruler will work or even the handle of a spatula)
- Waxed Thread (for the tutorial I used Sinew but for the book I just used embroidery thread. But waxed is best!)
- Large Needle
- Ruler
- Pencil
- Scissors
- Glue Stick
- Pattern Paper
- Sponge (I used a Magic Erasure. You can use anything including an old rag. It is to just back the paper when you punch holes through it.

The Big 20/20 Event: Day 15: Make Your Own Homemade Natural Deodorant Stick


This post is brought to you by the lovely Birgit.


If you’ve been following my blog, you will know that I switched the family to all natural, homemade toiletries about 1.5 years ago. The one thing I was somewhat hesitant about though, was deodorant. Somehow I didn’t think I could make that one myself.


You see, we live in the desert, that means it’s REALLY hot, which in turn means, there’s a fair amount of everything from ladylike perspiration to downright, not-at-all-lady-like sweating.


Even though I switched to all natural deodorants quite a while before then, it took me a long time to find something that actually worked - and had the right ingredients!  And over the years I have tried many, many “alternative” deodorants, with very little success. They either didn’t work at all, or not for very long! Or they smelled rather unpleasant! Or they weren’t entirely “natural” enough to be worth it, as many of the supposedly natural deodorants still had a bunch of undesirable ingredients in them.


I finally found one that worked for me ingredient wise, it worked all day and it smelled good enough for me to still feel feminine! The catch? It was around $10-12 a pop. Granted it lasts a while, but I just have a hard time paying that much for a deodorant on a regular basis!


So, I set about making my own. I started with some of the many tutorials on the web, but I found that most of them turned out too oily/greasy for me to feel comfortable with. I wanted mine more on the powdery/dry side but still glide on.


Today, I’m sharing with you the recipe that’s been working best for me!


Happy Pi Day!

Happy-pi-day

Happy π Day, everyone! Today is the March 14th, also known as pi day!
What an irrational day to celebrate! Pi is an irrational number. What that means is that the number can not be represented by a simple fraction. An example of a rational number is 0.125, which can be represented by 1/8.

The value of π is 3.14159265... it goes on and one and one! You should check out one million digits of pi.

Pi can be defined as the ratio between the circumference of a circle divided by it's diameter (it's distance across). That's why in math we know that the formula to find a circumference of a circle is π multiplied by the diameter of a circle!

Oh, did you know that Albert Einstein was born on a pi day?

I celebrate this day by eating some pie! Yummy yummy pie! :)

The Big 20/20 Event: Day 14: Making An Art Journal Part 1

wIMG_8022


Today's tutorial is brought to you by the lovely Lisa.

For my tutorial I would like to show you how to make your own art journal! This is such an awesome thing to do for many reasons. I myself became interested in it because I was not being able to find a journal to carry around that had the type of paper in it that I wanted. Now I love them because the process is fun, the outcome is rewarding, they make such neat things to carry around AND to give to others as gifts.


wIMG_8021


I am going to break this down into 2 parts. The first part will be decorating the covers. Of course you can cover your book any way you choose. And with any materials from cloth to paint. It is your book. I am just going to share how I did it. The cover needs to be done before the book is sewn together. And of course the second part will cover all the details of making the book. Happy Creating!


The Big 20/20 Event: Day 13: Making Your Own Custom Stamp


Welcome to today’s tutorial, brought to you by the lovely Candice.


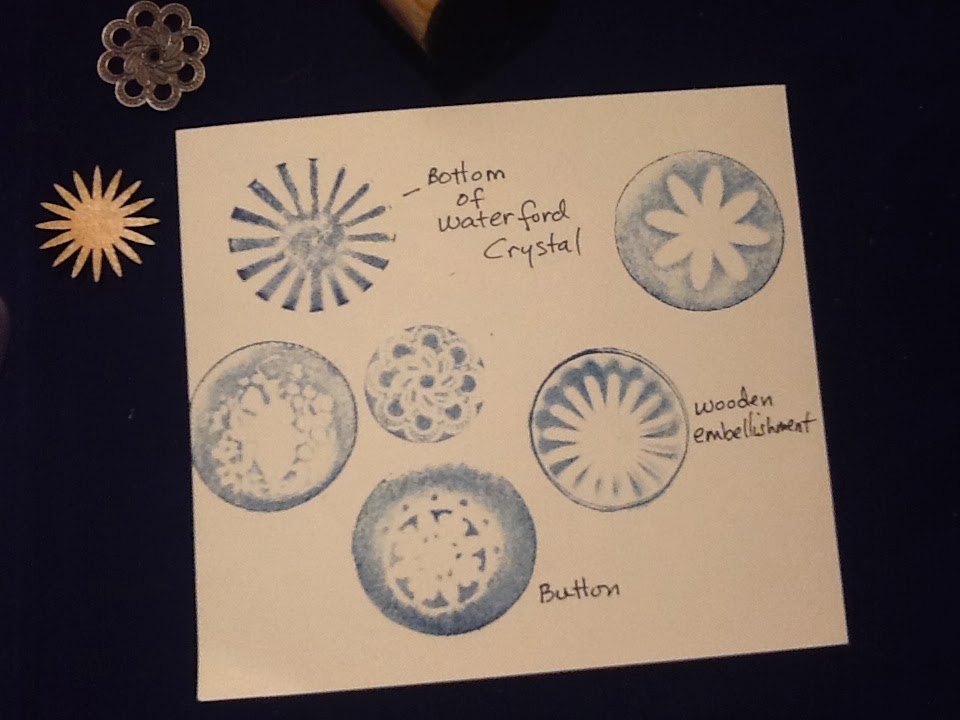
I’ve spent many years enjoying the quick and easy method of using rubber and polymer stamps for creating cards, scrapbook layouts and mixed media layers. Sometimes I’ll see a button, charm, flocked wallpaper, cut glass and other textured items and admire their qualities as potential stamps. You could certainly create a mold of many of these items or parts of them, and make them into a permanent stamp using resources such as clay. I wanted a fast and easy method so this is what I do.


I don’t always want to make or purchase a stamp that will take up permanent residence in my studio, so craft foam becomes a wonderful source for preserving an old button or charm, that you don’t want to ruin by using it as a stamp. The foam can be stored once the impression is made, or you can make the impression magically disappear. Follow along and be sure to leave a comment or send an email to me if you have any questions. Most of all…….have FUN!


The Big 20/20 Event: Day 11: Make Gorgeous Goddess Bath Salt


This post comes from the lovely Renee.

Every woman is beautiful; every woman is the embodiment of The Divine Feminine—she is a goddess on earth…and she deserves fabulous bath products!


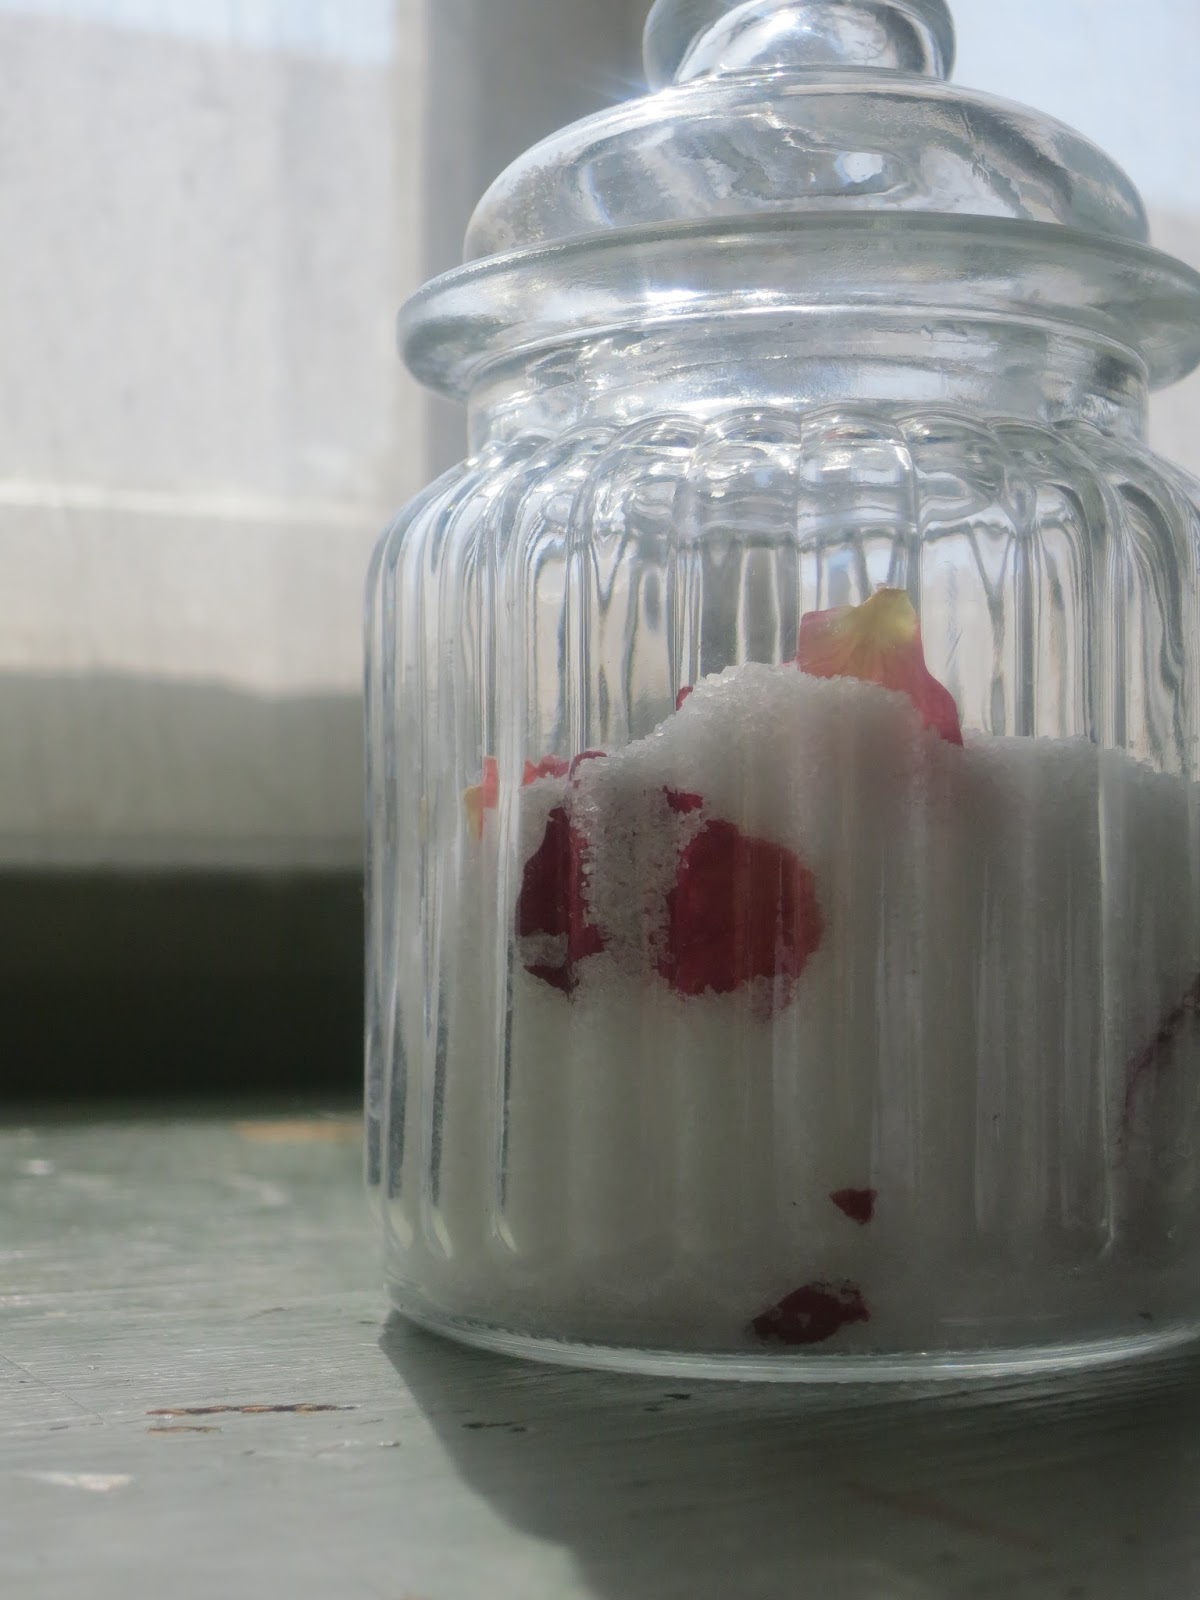
I consider the bath to be a sacred goddess space for ritual, anointing, reflection and tranquility. It is a place to honor the beauty of your body, to cleanse, to purify and release. On my website, I offer products for this such as scented sea salts for soaking and sugar scrubs for super soft skin—all made with pure salts, sugars, essential oils, herbs and flowers. The recipes for my products are well designed, but with just a few basic ingredients, you can create your own beautiful bath products—I’ll show you how.


The Big 20/20 Event: Day 10: Make Your Own Felt Bag


This post comes from the lovely Tracey.


I wanted to share how I made felt gift bags for Christmas presents this year. These are great for giving gift cards, money, or other small items. A big bonus is that they are reusable.


The Big 20/20 Event: Day 9: Take Your Own Abundance Bath

This post is brought to you by the lovely Kris.

Ritual Cleansing + Abundance Unblocking Bath 

This is a great cleanse to do the night before deep journeying or ritual work. I use this cleanse whenever I feel financially blocked and desire more money, opportunities or jobs to flow to me.

The Big 20/20 Event: Day 8: Make Your Own Dreamcatcher

pic5


This post is brought to you by the lovely Sierra.

Hello beautiful soul. Today we are making dream catchers. As you can tell by the pictures, this is NOT a traditional Native American dream catcher. Because they are meditative in a way to make, I like to call it dream weaving when I make one. I think of something I want to manifest in my life and as I make one I meditate on that and how I can bring it about. These are super easy to make and I'm excited to share it with you.

The Big 20/20 Event: Day 7: Sew Your Own Pincushion

Jelly bean tin.jpg


This post is brought to you by me!


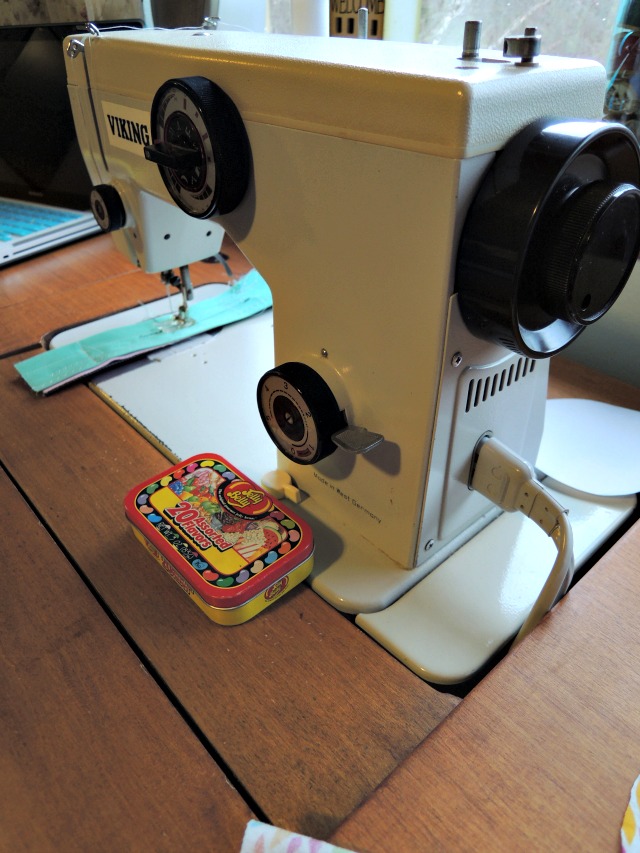
When you see me sewing, you will see a jelly beans tin right by me. You might think, “Oh Dita, you must really like to snack when you sew!” Well, I wish that tin was filled with jelly beans goodness. How disappointed will you be when I show you what’s inside the tin?


pins.jpg


This actually works really well, it keeps all the pins in one place. However, I want a pin cushion! Well, I guess a solution for that is to make one. Let’s make a pin cushion with me!


The Big 20/20 Event: Day 6: Make Your Own Chicken Pad Thai


Hi! My name is Jacquie and I blog over at Confessions Of A College Angel. I am so happy to be a part of The Big 20/20 event!!


My how to is really yummy, How to make Chicken Pad Thai--- now this isn’t COMPLETELY the traditional version of Pad Thai, although I do LOVE that kind as well, this was made for a super picky eater, my fiancée Kensei and his even more picky of an eater Dad. I really hope you like this and give it a try!


The Big 20/20 Event: Day 5: Creating Texture With Gesso & Stamps


This post is brought to you by the lovely Birgit.


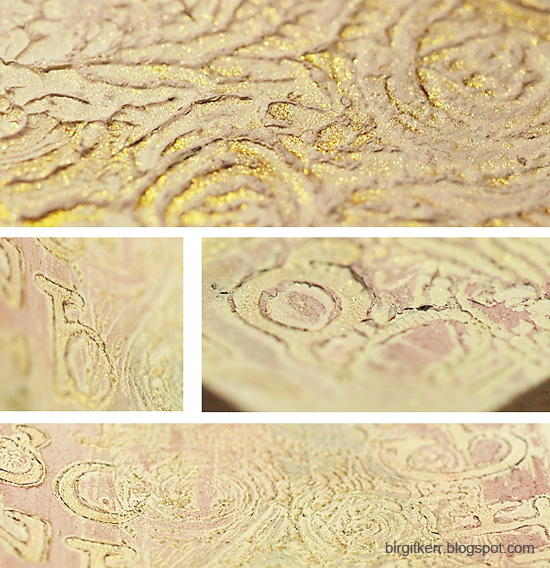
Following my post about Gesso Stenciling and creating texture and interest with the puffy gesso method, I am now sharing another favorite method of mine to use Gesso to create texture for your journaling pages, paintings or other mixed media projects.


In my first gesso tutorial, we were scraping the gesso through a stencil to create texture, this time we’ll be making impressions in the gesso by stamping and drawing into the gesso.


The Big 20/20 Event: Day 4: A Heartfelt Love Card Tutorial


This post is brought to you by the lovely Linda.


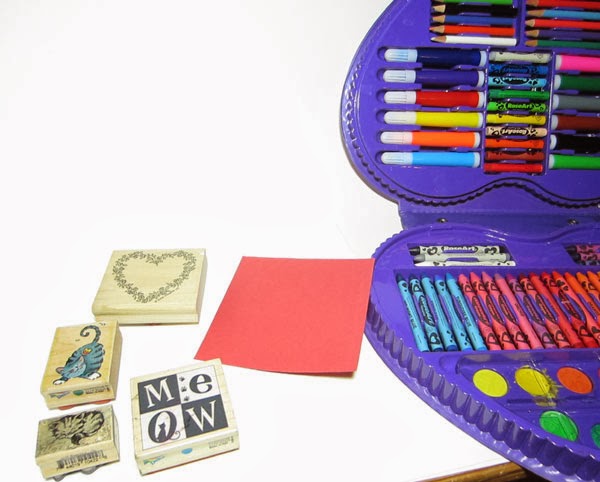
Supplies and materials: 


Paper card and envelope (I use the ready made card and then add paper, stamps and other items)


Stamps


Colored Paper


Markers, Crayons, Pencils (to color in the stamps)  


The Big 20/20 Event: Day 3: How To Paint From The Soul

painting from the soul


This post is brought to you by the lovely Jeanette.


Here is my tutorial using directions and photographs to guide you to create a beautiful painting using your own beautiful creativity and some simple directions. I am going to give you an overview that you can use to access your own creative Source. In essence, painting to me is all bout getting out of my ego, connecting to Source (just being open to what may come) and playing.


There may be some struggles and self talk along the way, that tells you "you are silly", "you can't paint", "this isn't working" and so on. I want you to try and temper this with the patience of a saint. Sooth that inner voice with reassurance. Tell her you are just playing and give her permission to not put too much pressure into what comes out of all of this. I remember years ago reading a quote in Julia Cameron's, The Artist's Way, that said, "In order to paint something well, we must first be willing to paint something poorly". I am pretty sure that no one has ever picked up a paint brush for the first time and painted like Picasso!


In this painting I used acrylic, full bodied and liquid, stamps, ink pads, bits of old writing, found objects, I use matte medium for gluing as well as to make my paint more moist when it dries out as I go, a selection of small brushes and anything I feel inspired to throw into the mix. In this first picture you can see the bin that I have some of my stuff in. I drag it out and put it away each time because I live on a boat. I can tell you a lot about how you do this painting, but I can't convey the hours of painting I have done on other paintings to get to this point! You must be willing to play.


You will learn little tricks along the way that will make the next painting more interesting! The most important factor is for you to know you are indeed an "artist". It is your birth right! Just hold that intention in your beautiful heart and begin. I suggest painting on art board to start. It is small and you can do lots and still store them! I did many this way! You may think that they won't be as important if they are on board, but I am here to tell you that I sold some of my early pieces to a very enthusiastic fan, who framed them and has since put them up on a wall in his beautiful home.


Here Is what he has to say:


Jeanette, Your work has made quite an impression on the owner of the White Rock Art Gallery. She came out and said, 'Bruce, you're not going to believe this..' (And I'm not even going to try to tell you!) But after the three had wrapped it all up she said, 'Shoot!' 'We need pictures!' 'Did we get pictures for our site?' Hehe.. I mean, they have $20,000+ paintings in their gallery but had never been quite so impressed with the pairing of art and frame!  Although she doubted whether a picture could do justice to just how incredibly beautiful they are, she made me promise to try and get one of my photographer friends to give it a try. Jeanette, Jeanette, Jeanette.. how fortunate we are to have discovered the brilliant, happy shine of your artistic expression. Glory, glory.. Hallelujah! When the sun lights up the pink room I will try and get us all a good shot! Meanwhile, it's Lindy's face that's really lit up! Thanks, eh!


You have no idea how much this makes my heart sing...woo hoo! And the beautiful part is you can do this too! xo. So don't under-estimate the possibilities of these early pieces! Art is all about believing you can paint and having fun!
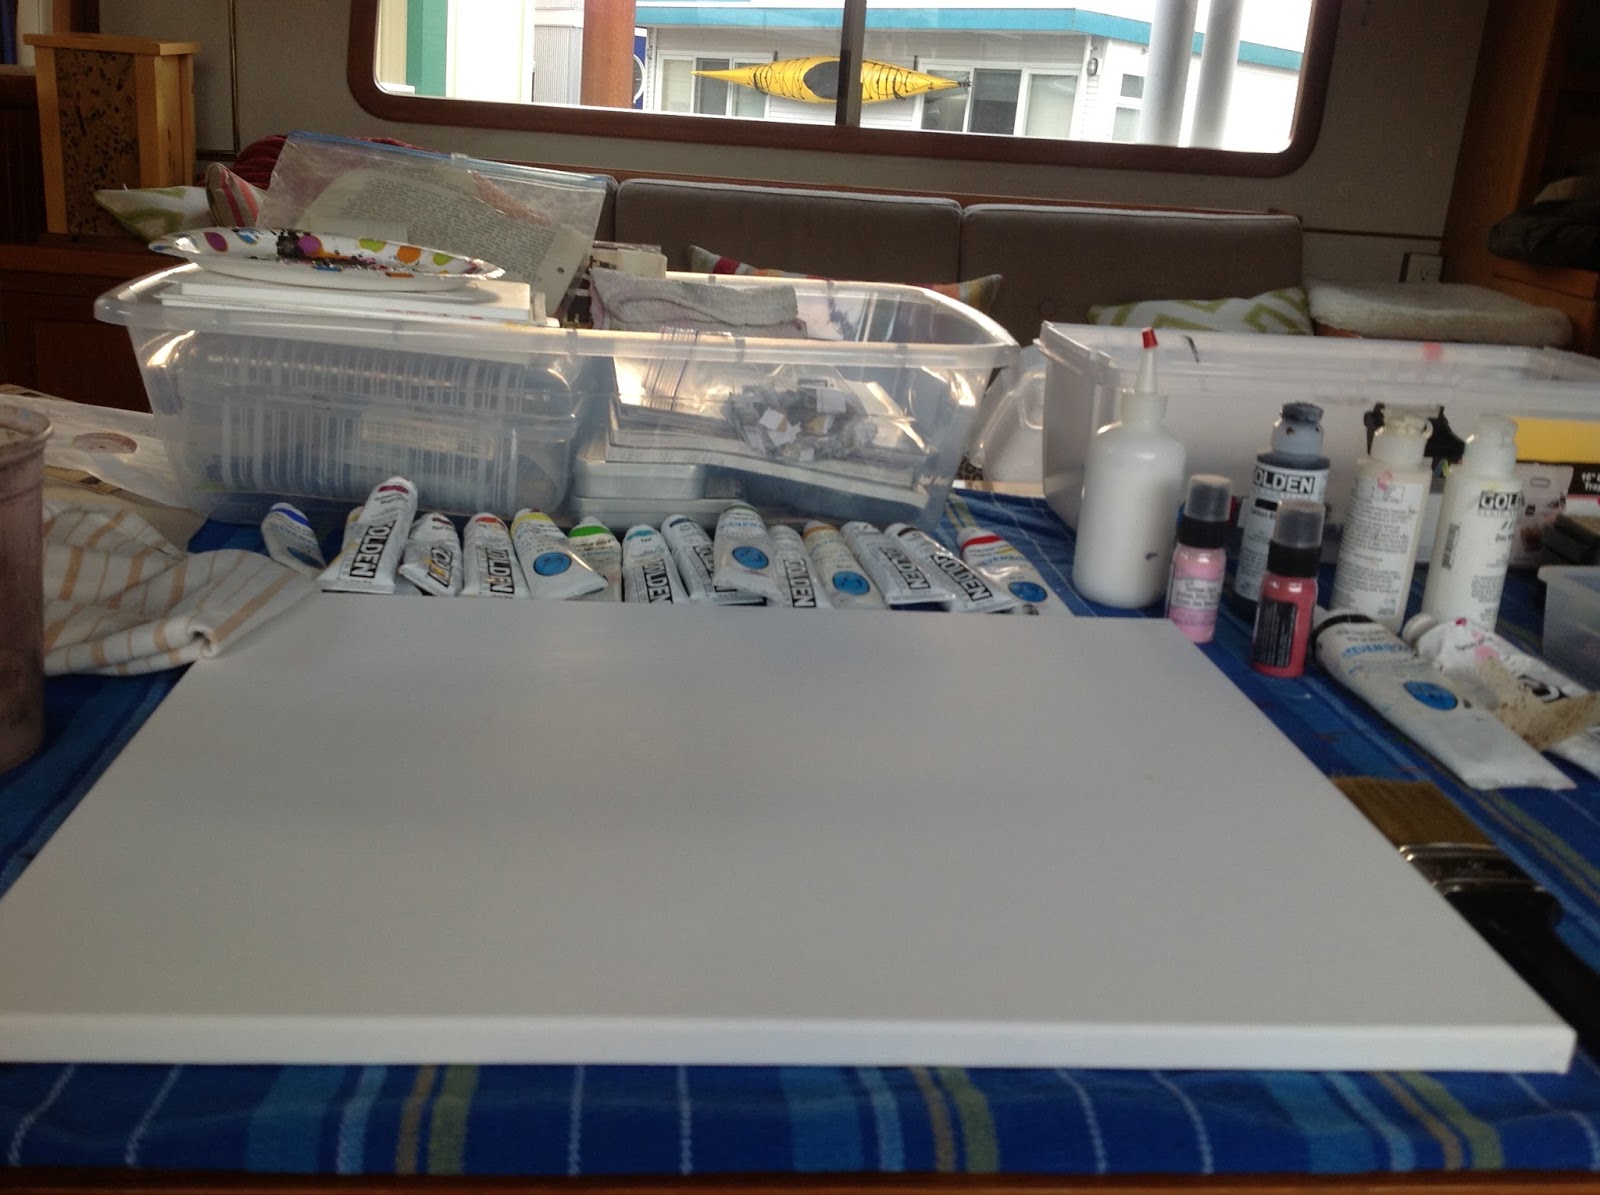

the blank canvas


STEP 1 


As you can see I started with a blank white canvas this time. I want to mess it up as quick as possible and get over that inclination to keep it all pretty and the "p" word....perfect. For me this isn't too much of a problem...I am a messier girl! I like color and texture so much better than obtrusive white.


Backgrounds are an opportunity to try new things for me. In this painting, I used some Golden Acrylic paints and Stevensons' (a Canadian brand) as well. I work with a matte medium for collage and glue. It is just a polymer like they use in paint without any colour. I have collected bits and pieces, letters, and pictures to use in my painting. I often use magazines and rip and tear and cut, but this time I never used any magazines.
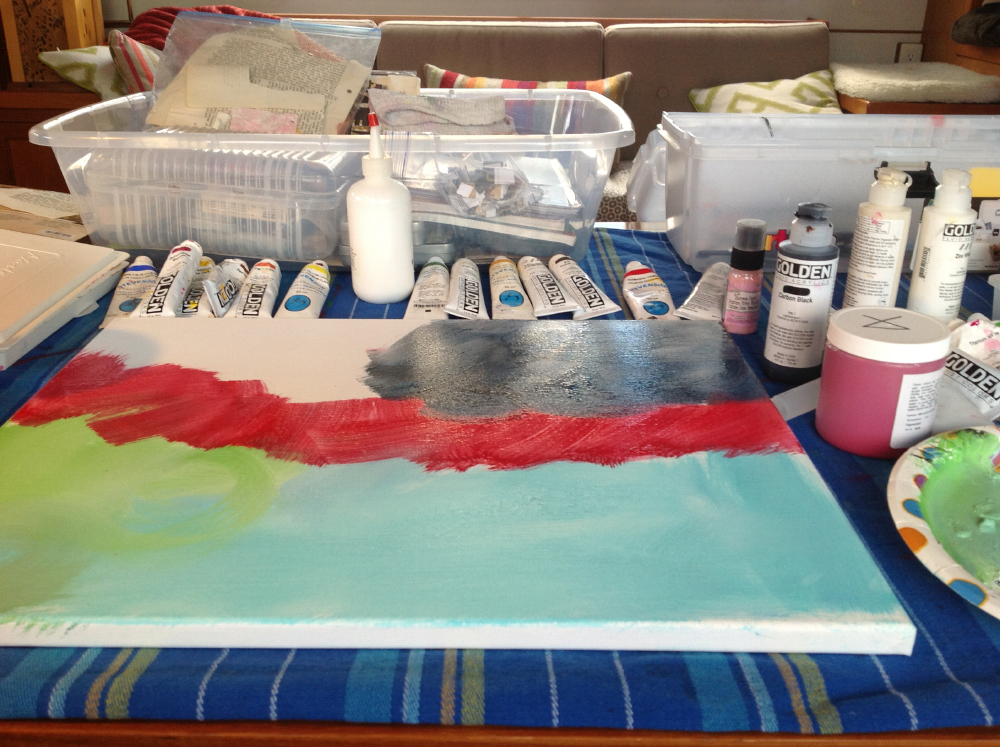

paints galore


STEP 2 


Usually I drag out books I have of other artists works that I admire and I even bring out my old paintings. I will not be copying them, but they help me get out of myself and give me inspiration. I am pretty sure everyone does this. Or I look on the web for ideas to get my creative juices going. It really helps! Then I just take the plunge and spread some paint around!
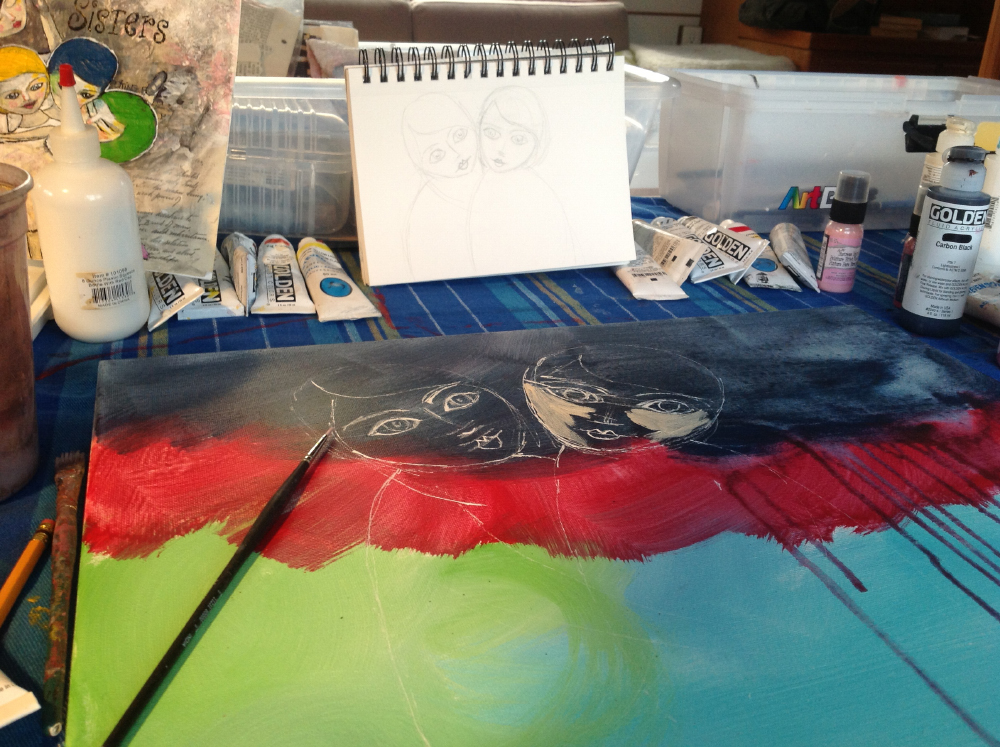

beginning to emerge


STEP 3


I start with a rudimentary sketch of the subject matter. In this case I drew a couple little cuties. It gives me a direction to go in. Creating art is really all about opening up to take risks and not getting too attached to what you put down in the first few layers!


So have fun with it! I used a little tiny spray bottle with water in it, to get the acrylic paint to run in drips. I wanted to try this and thought I could have incorporated it into the piece. This makes for an interesting background. Art is what happens when your busy making other plans. Turns out I didn't really use it, but it did become part of the whole!
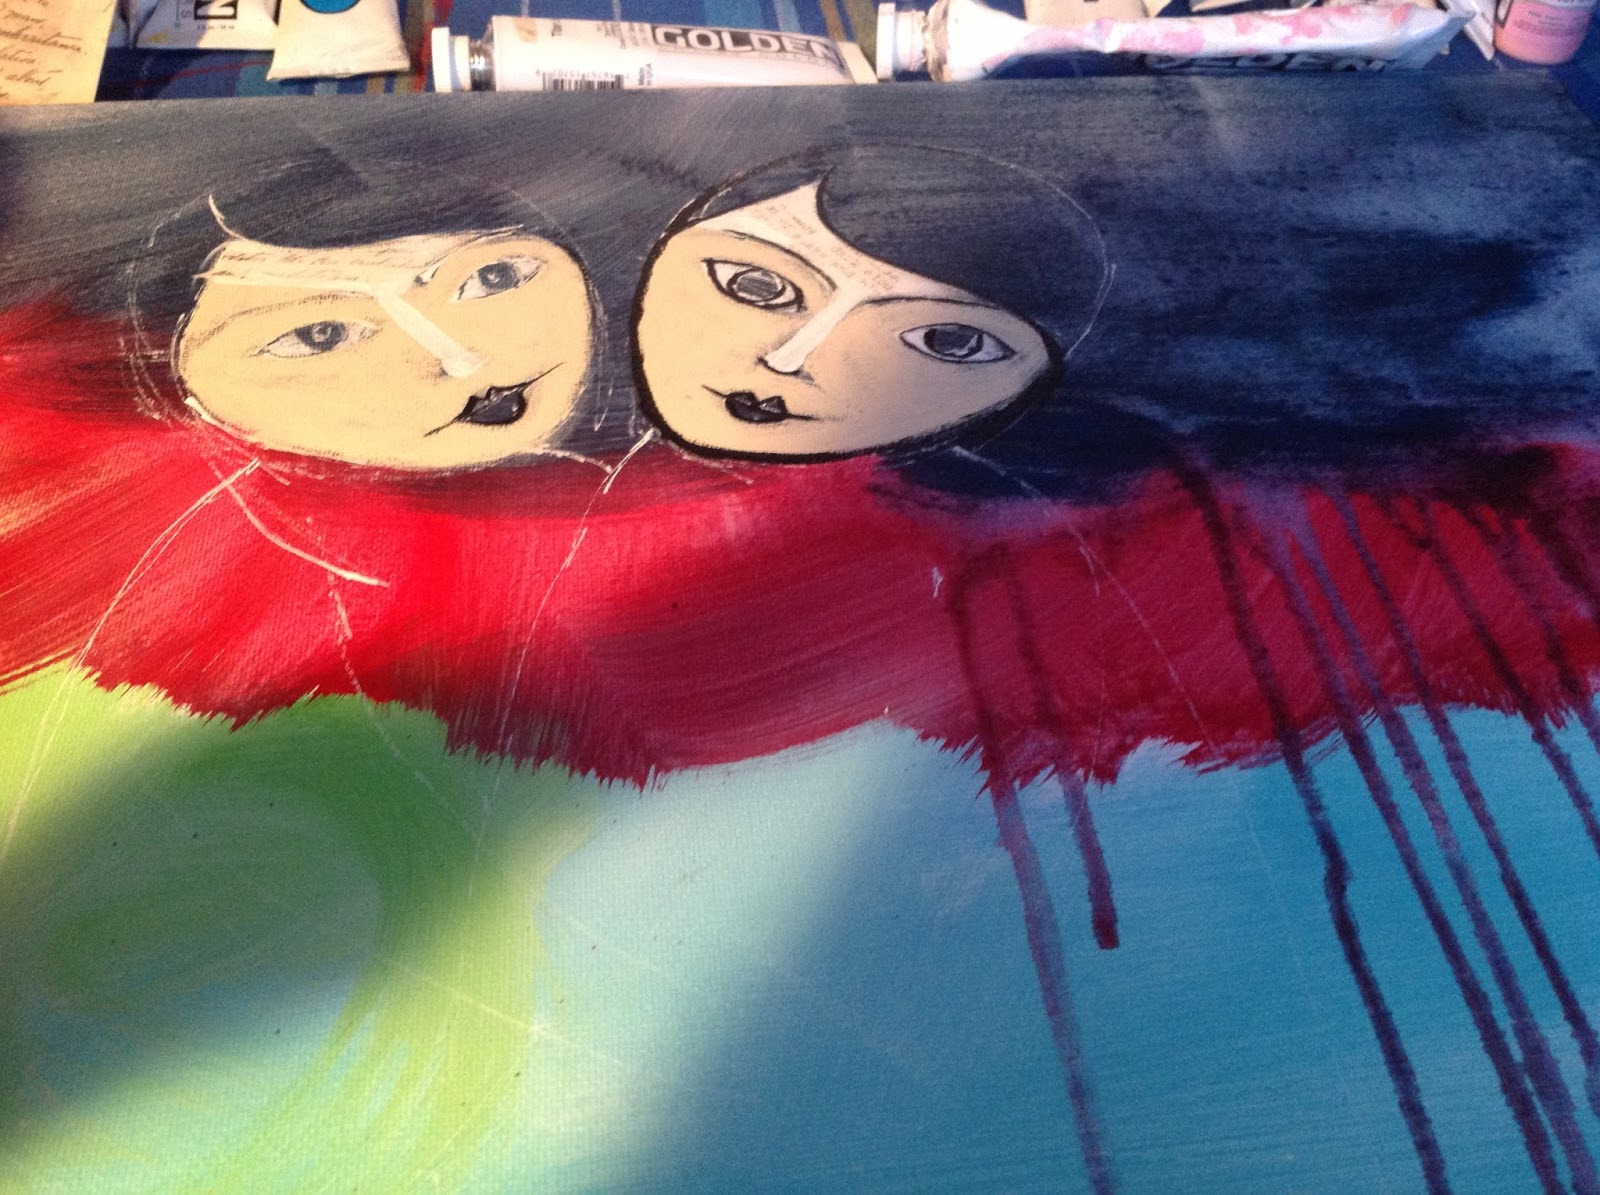

faces become clearer


STEP 4


I used a white acrylic pen to draw on the faces. I find white blends easier. You could use a white water color pencil as well. Then I start using a skin colored paint to build up the face. By the time I  feel satisfied with the face, I have put down a lot of paint. I like where the face is going but still not sure about the eyes.


Something wasn't feeling right about the eyes on the right, so I colored it in and stuck some print over it. I did this with both of their mouths. I wasn't loving something about them, the position or shape or whatever...but I like some writing on my faces coming through so I don't get too worked up over it! Remember not to get too upset that things don't go where you think they should the first time, the second time...and so on.


Entertain the possibility that it can go somewhere way better than you have in mind, if you remain open to it!  I talk to myself all the way through the painting. I say things like, "it will work out" and "don't give up"! And you know what? It always does! You will feel so good that you worked through all this inner self sabotage and got to that sacred place where your creativity lives!. And the more layers the better. Just keep that in mind.
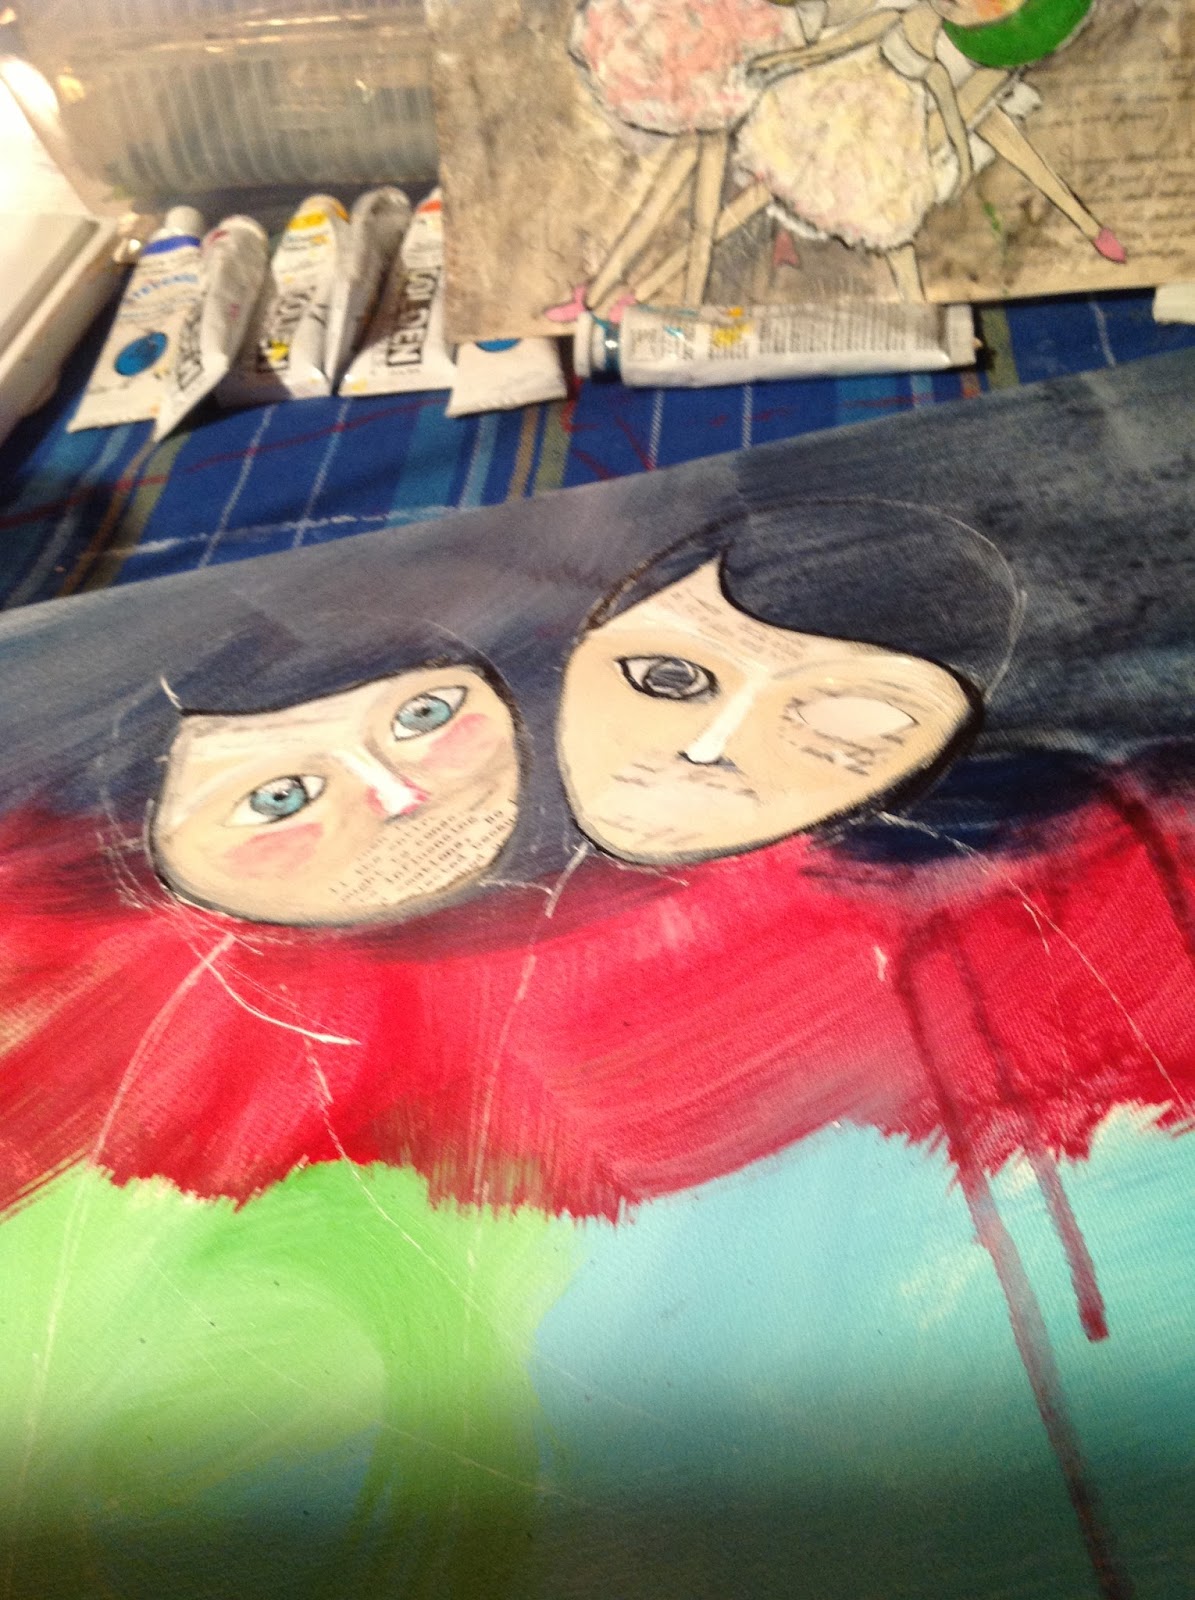

texture added


STEP 5


So, now you can see that I have worked through the issue with the eyes and mouth and see the print coming through! I have added some hair color. I am often drawn to characters of this coloring because my sister and I are like this! She is a brunette with brown eyes and I am (was) a blonde with blue eyes! I have added some cheek color as well.
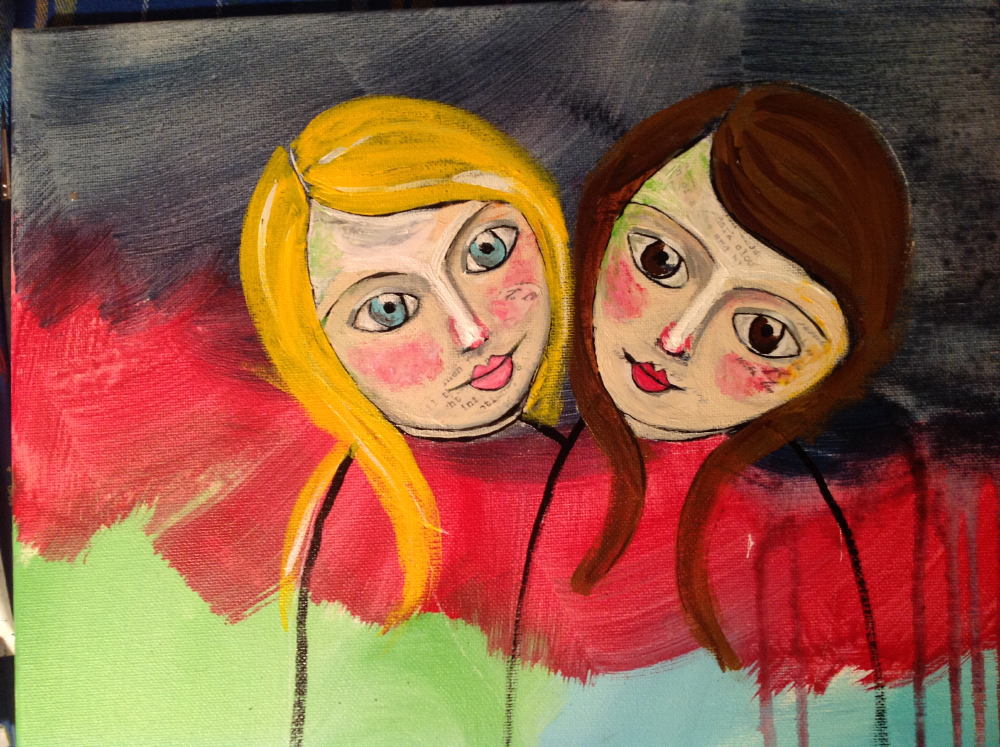

happy faces


STEP 6


The faces are becoming more defined in this shot. I have added more color to the hair and slimmed the faces down using the hair . You can see I added big wings which I later changed. I do like them but I wasn't being inspired to do something with them. I don't worry about changes. I know it will add more interest in the long run. I stand back away from the piece I am working on often to gain perspective and allow the painting to tell me where it wants to go. It wanted to have little butterfly wings and flowers...so off in that direction I went!
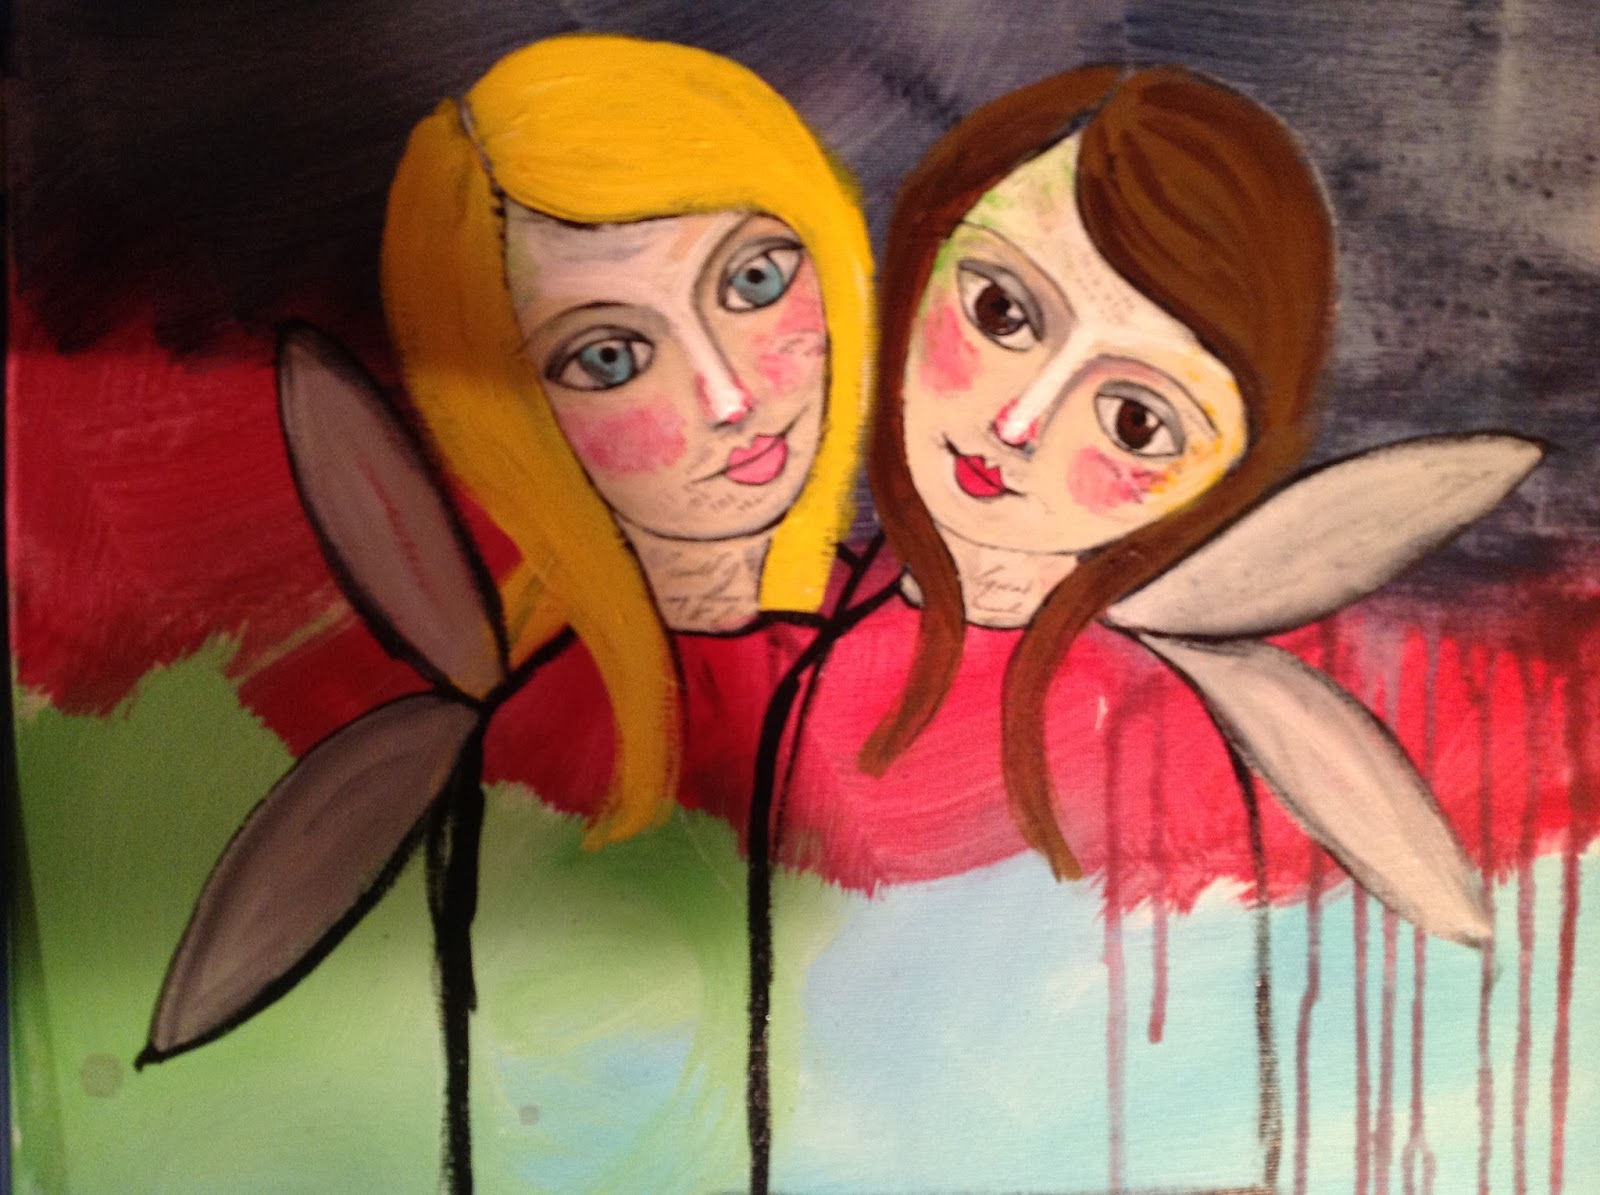

wings


STEP 7


I have added a bit of interest to the background using a big brush dipped in white paint and made three swirling circles...ooooh I like! and used an ink blotter to add some polka dots. I used my finger to make the black circles and surrounded them with white. I like this effect.


Even though it got covered up, I may try this technique in another piece! Notice the lettering I was using. I tried it out and did not like it. I have some stamps with letters that I stamped onto paper and cut out in squares that I ended up using. I am going to go buy some archival ink pads, because they are water proof. I sprayed the letters with hairspray. to protect them from matte medium making them run. I also played with some stamping techniques for the background. so, you can see there is a lot of experimenting going on! I am becoming more skilled and knowledgeable with each piece! You can too...just get painting!
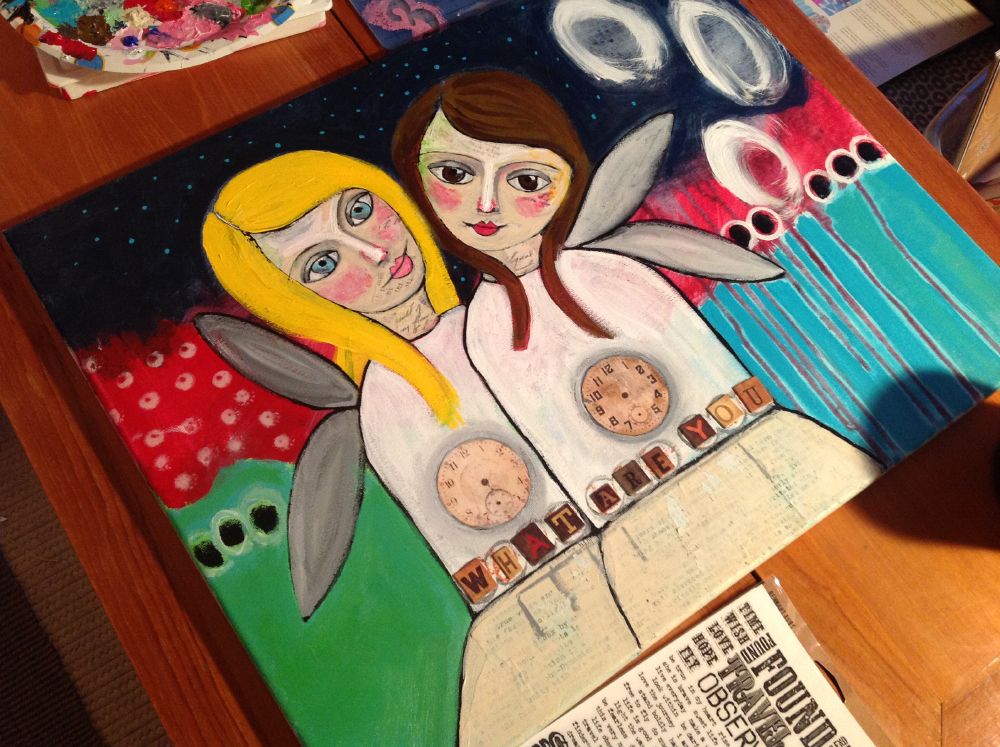

time


STEP 8


I decided to make the letters for this piece using my stamps. I am building a collection of stamps and a knowledge base about them. I have to tell you that this part really has my attention. I am going to learn more and incorporate it into my work. I LOVE stamps!
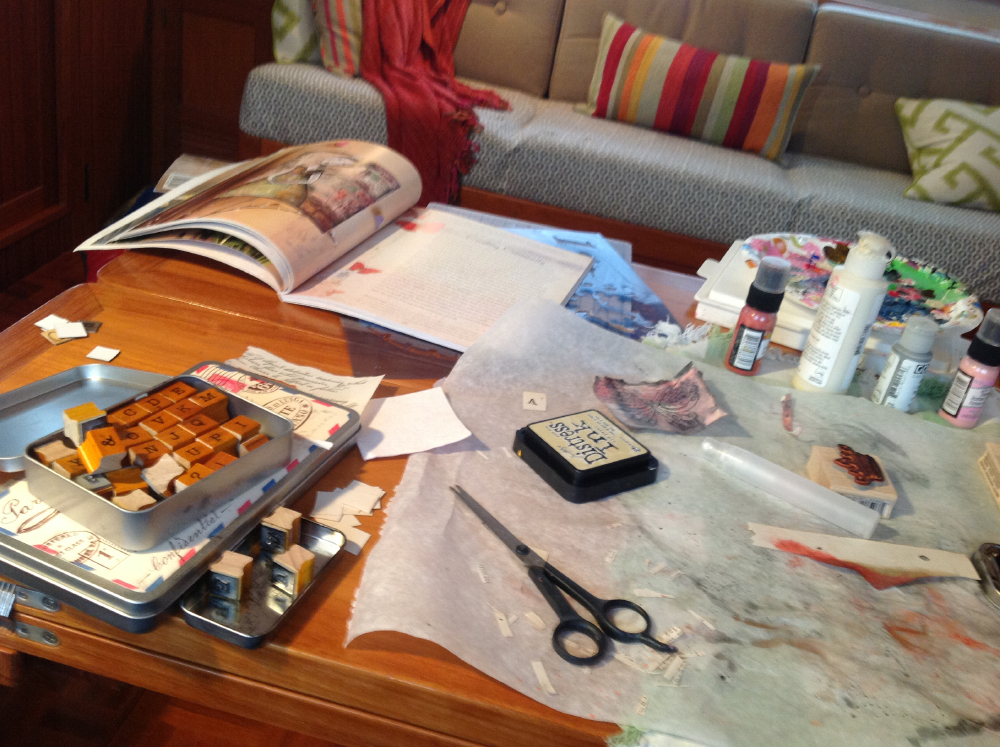

stamping chaos


STEP 9


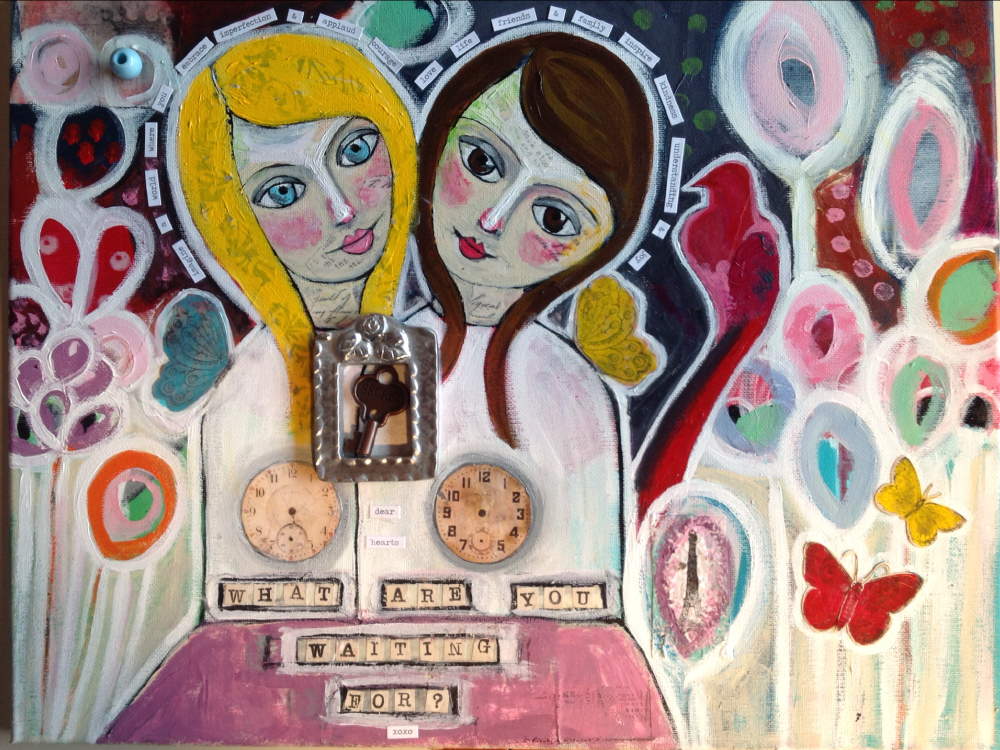
Getting closer to the final product! I have made some flowers , glued down clocks. As I go I start getting a message about what this all about. This time I was hearing. Tick tock, what are you waiting for.


Originally I had tick tock on the big wings, with those big letters. It was too much so the it morphed a little into this. Now it has "Dear Hearts, What Are You Waiting For" on it. I was kind of wondering about why we don't just start somewhere right now Because, if we wait for the perfect opportunity, it will never arrive and we won't ever follow our hearts and passions!
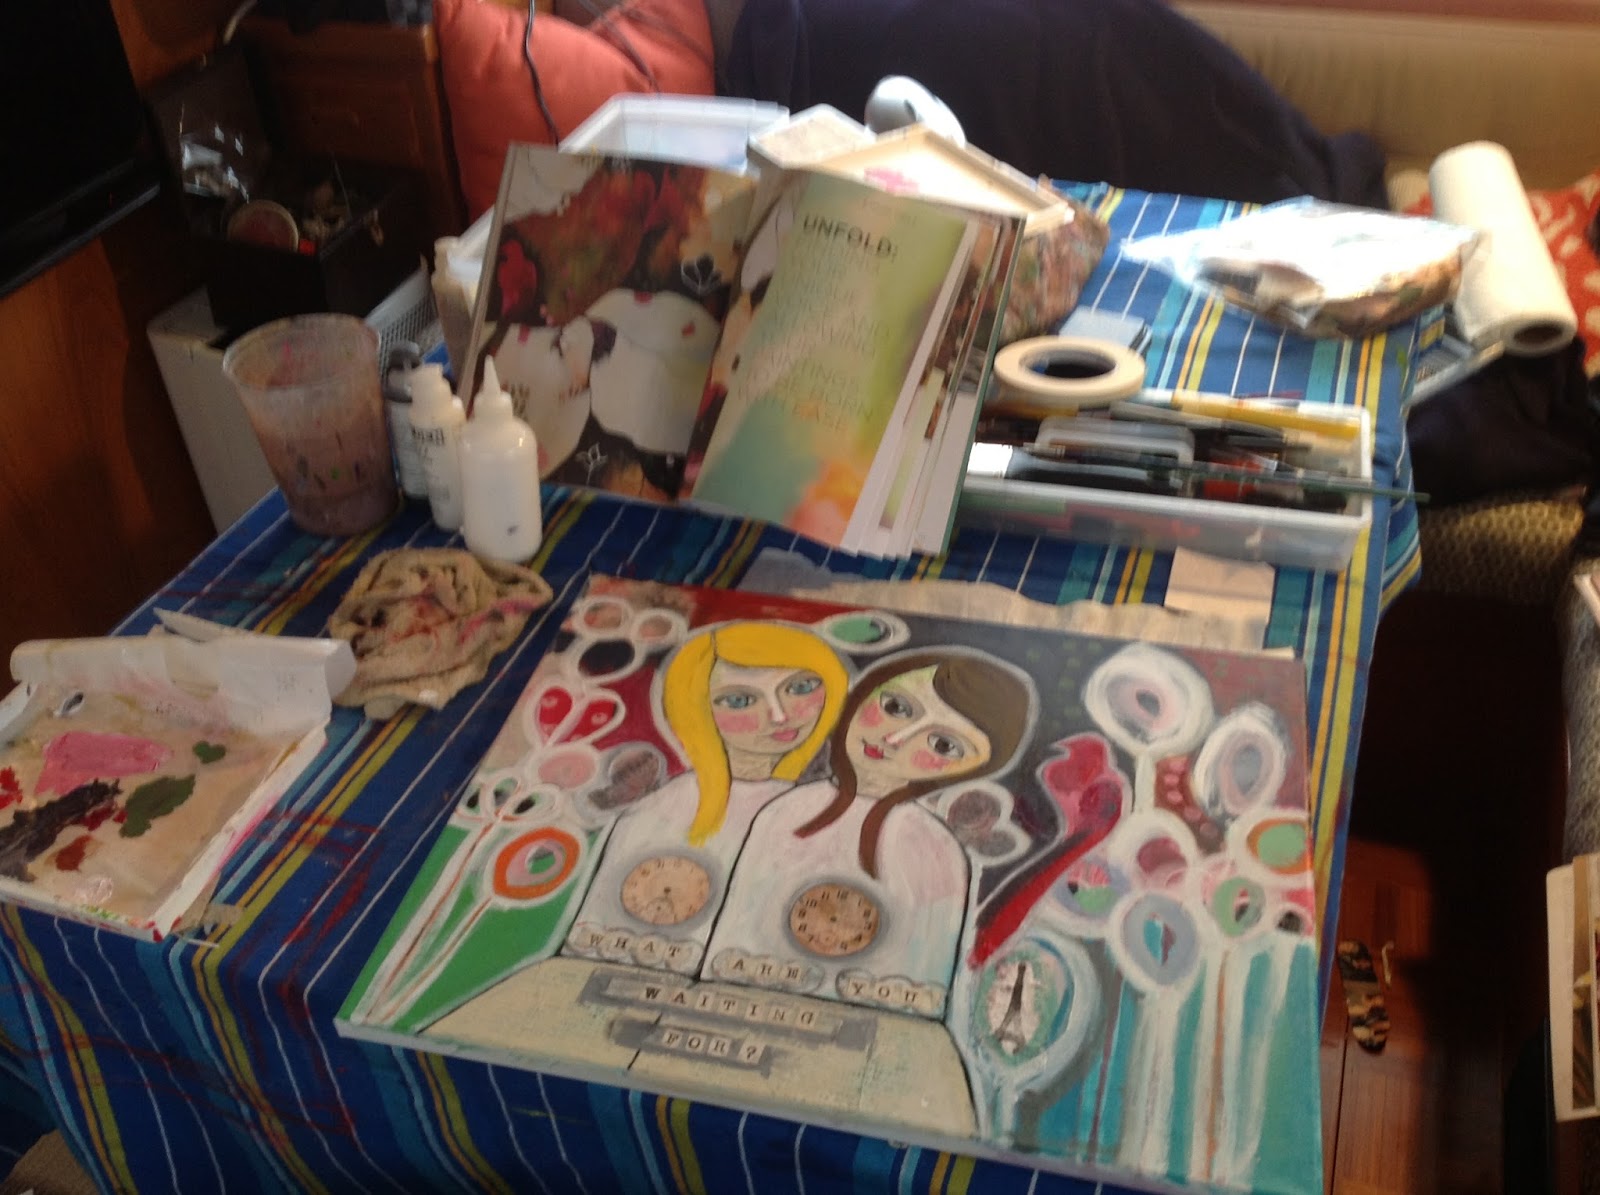

background work


STEP 10


The finished product has the background a bit more subdued and soft. I don't like thinks too stark. I am learning this about myself. I was drawn to create a more soft and serene feeling. When things are too hard I am left feeling uninspired. I like gentleness and the midnight blue, red and teal background was causing me to feel cold. The letters are better.


I wanted to work them in without being too fussy. I know that I can be inclined to make things too "just so". I am working on this and giving myself permission to be a bit more free. This is the attributes of other creatives I am really drawn too. But I express myself from where I am and that is just fine! I really have to love myself where I am at. This is the gift I choose to give myself, and that is what makes it okay for me to paint!


I have a collection of odds and sods and among them was that tiny pewter frame. At the last minute I had this intense desire to glue it down on this piece! I found the key that has "Secret" written on it! This is perfect, because, I believe,  the key to manifestation is to begin! To hold that beautiful intention in your heart and take steps into the unknown. To have faith that if you leap the net will indeed appear!
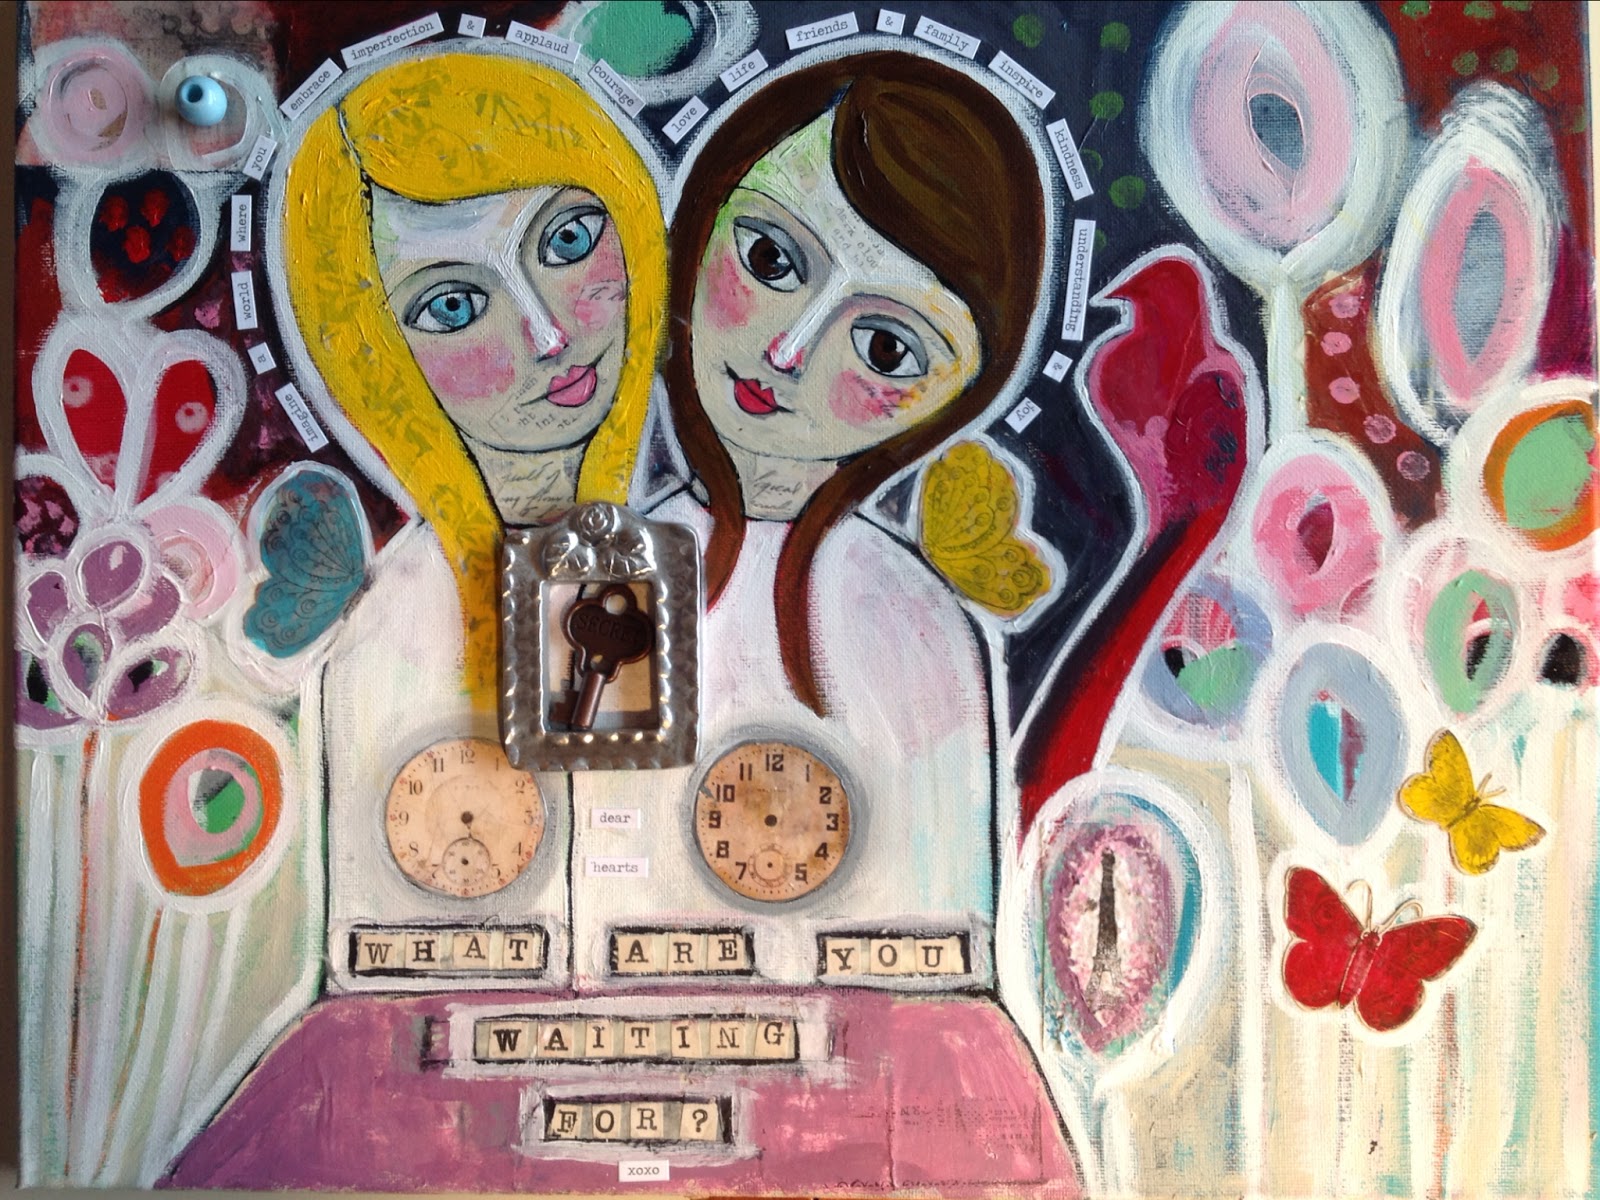

the finished product


If you have enjoyed my little tutorial, please feel free to send me a little testimonial to info@ jeanettemacdonaldart.com. I am thinking about creating an online course or e-book and would so love to be able to use your feedback and testimonials if you feel called to contribute this to my work!


It has been my pleasure to write this. I have had many of my soul sisters, and fans ask me what my process is. So this is my gift to you for being interested in who I am! I hope it helps you on your quest for creativity. And be assured there will be lots of inspiration coming in my future blogs! Thanks for signing up today and I am excited to share the creative journey together!  Lots of love to you all! xo Jeanette


If you enjoyed this tutorial and would like to be kept up to date with the whole series (happening across our whole team of blogs!) then simply follow my blog or click on the picture below to take you to our sign up page.
You will automagically receive sneak peeks of our upcoming tutorials and a FREE PDF EBook including all of our step by step tutorials at the end of the series. Just click on the pic below to get your goodies!
th big 20 20 event 400

The Big 20/20 Event: Day 2: How To Plan A Non-Fiction Book

Write your own non-fiction book


This tutorial is brought to you by the lovely Llinos.


A non fiction book can be a fabulous way of marketing your business or blog, and I'm here to remove the fear factor from it. Last year I planned and wrote my first book, a true story of my time as a cancer patient, which is being released in 2014.


A book of this type has infinite possibilities for you. You can use it as a giveaway on your website, to gain bookings as a speaker, or of course to build your profile as a writer.


So here's my guide to getting your book all planned out and ready to write...


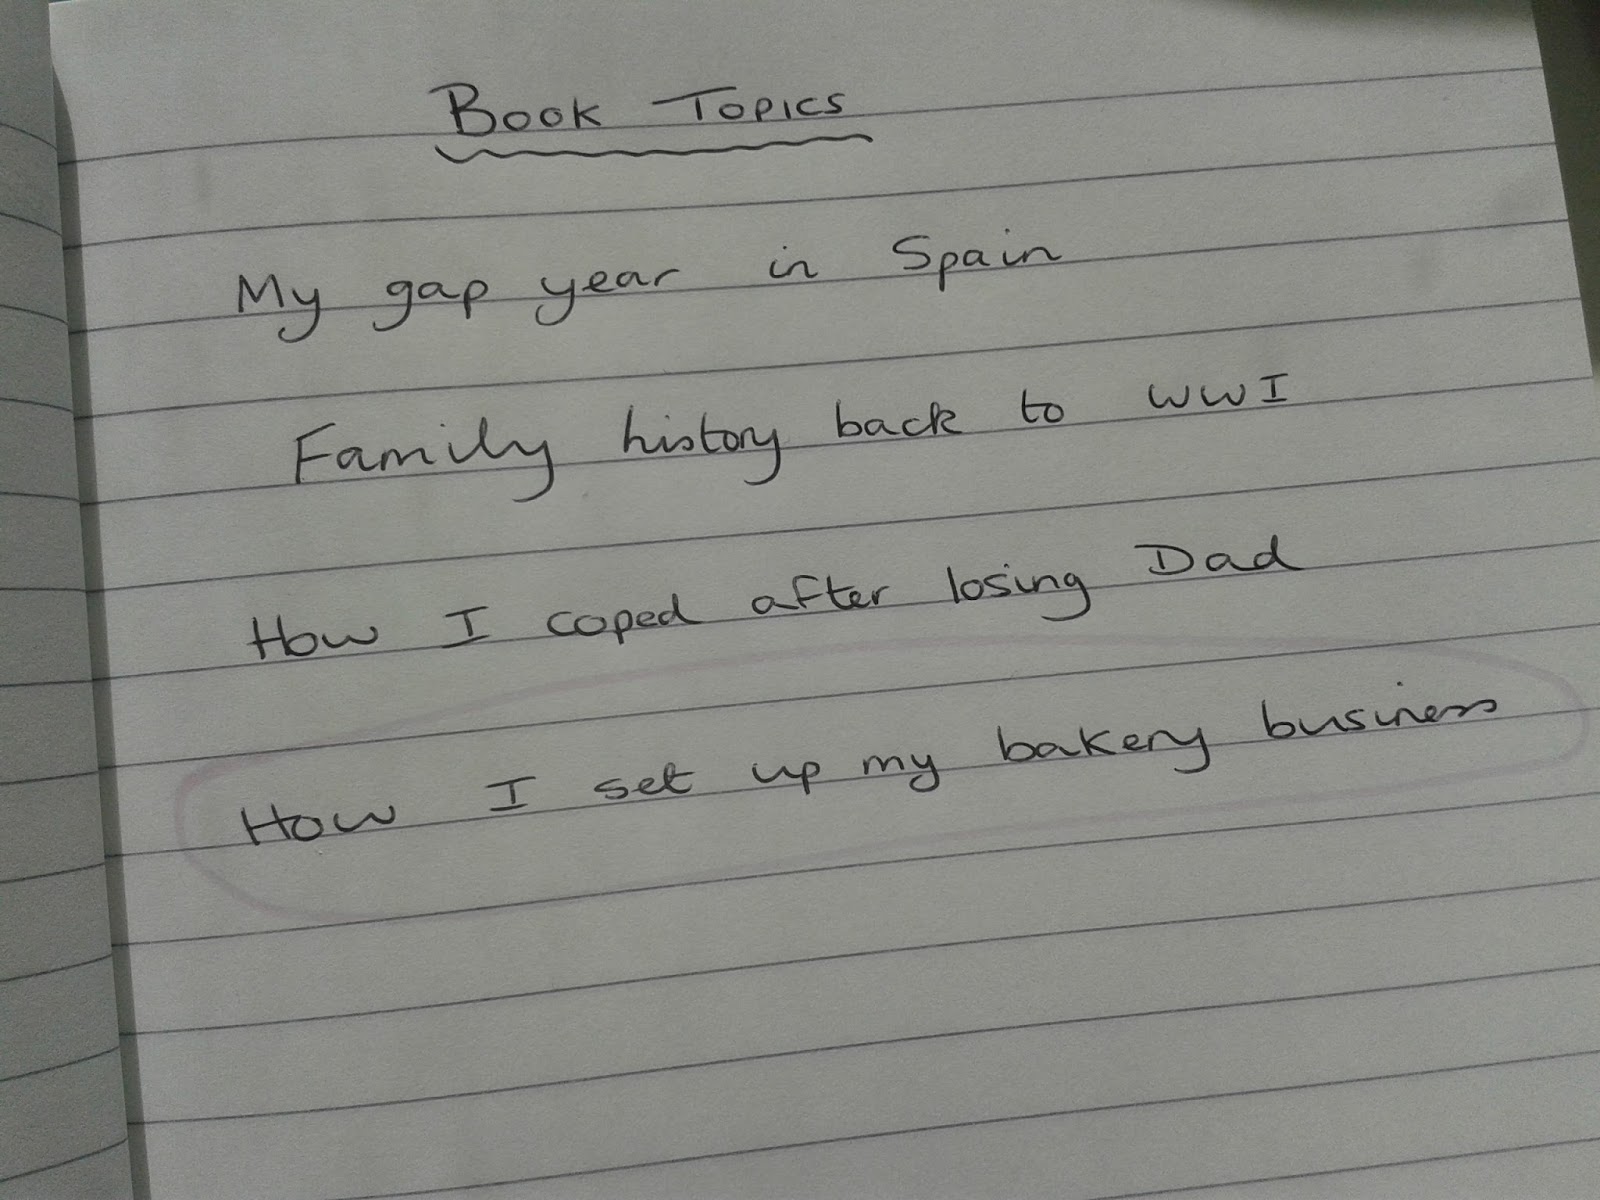
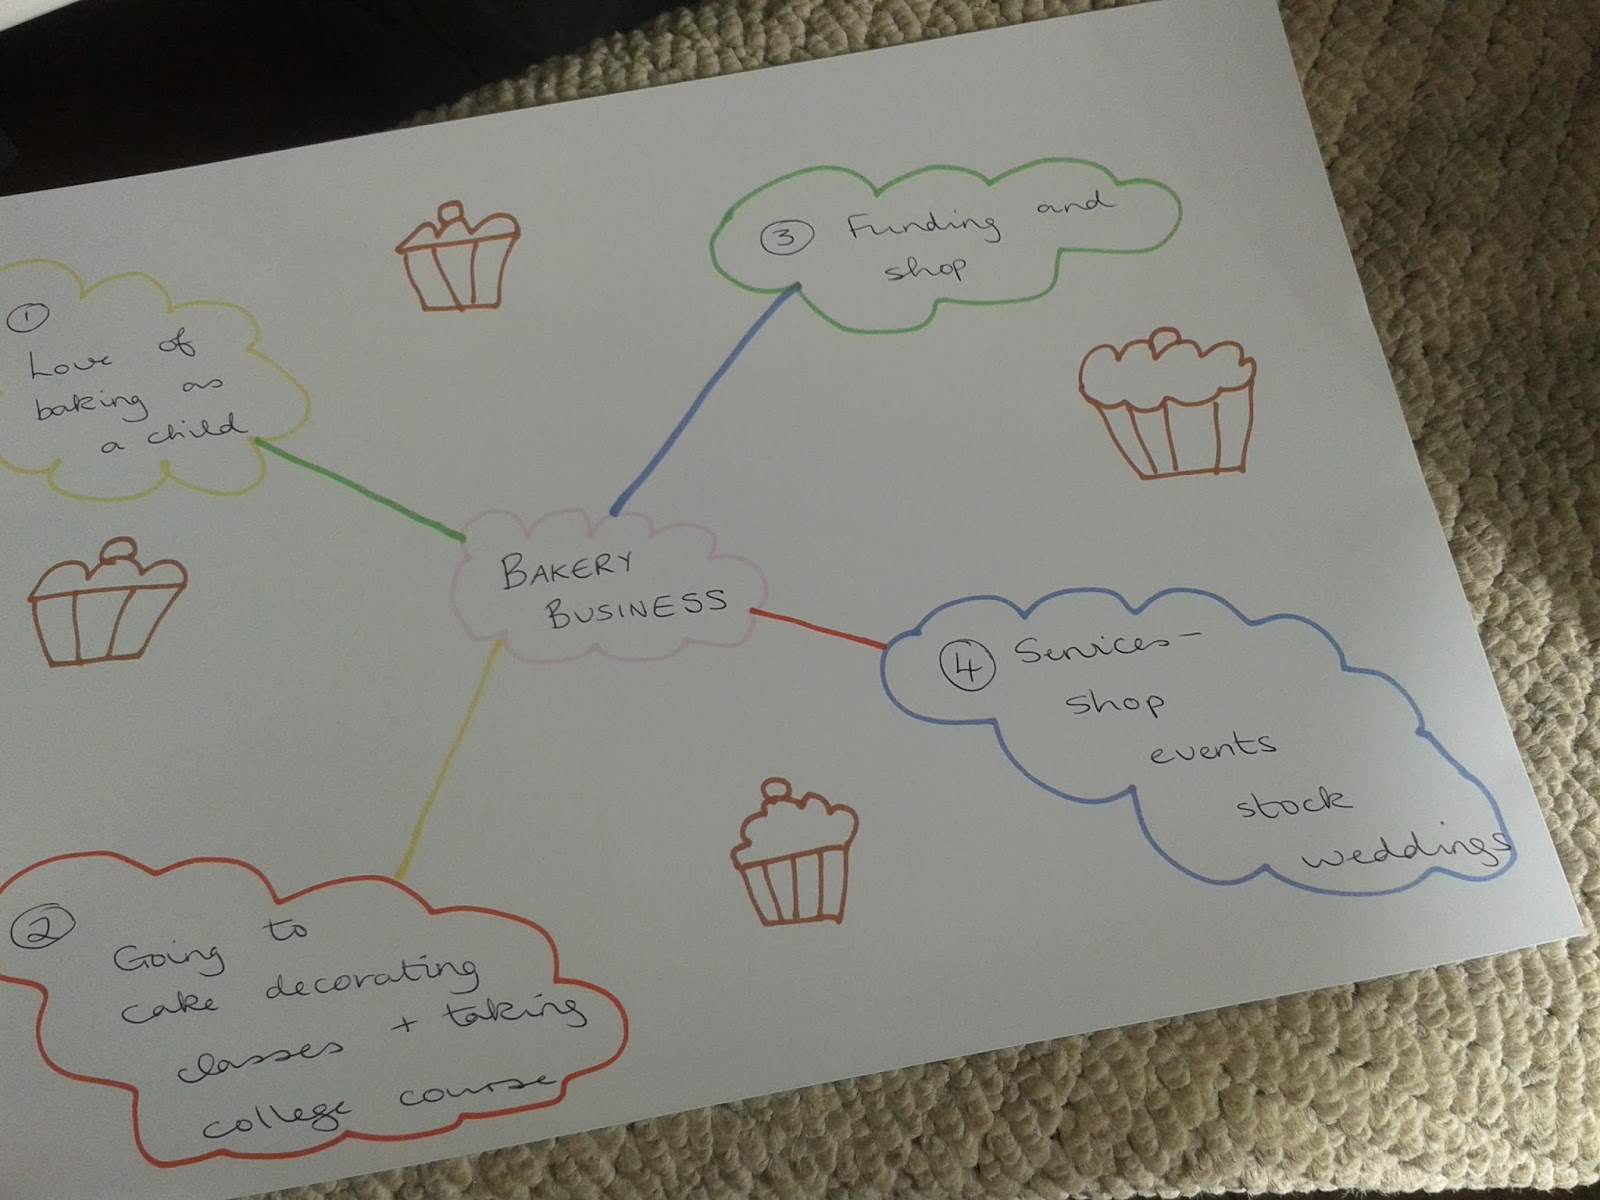
1. First of all, you need to decide on a topic. Are you going to write about an experience from your own life? Or is the book going to be about the story of your business success? (See the above picture for my ideas!)


fears


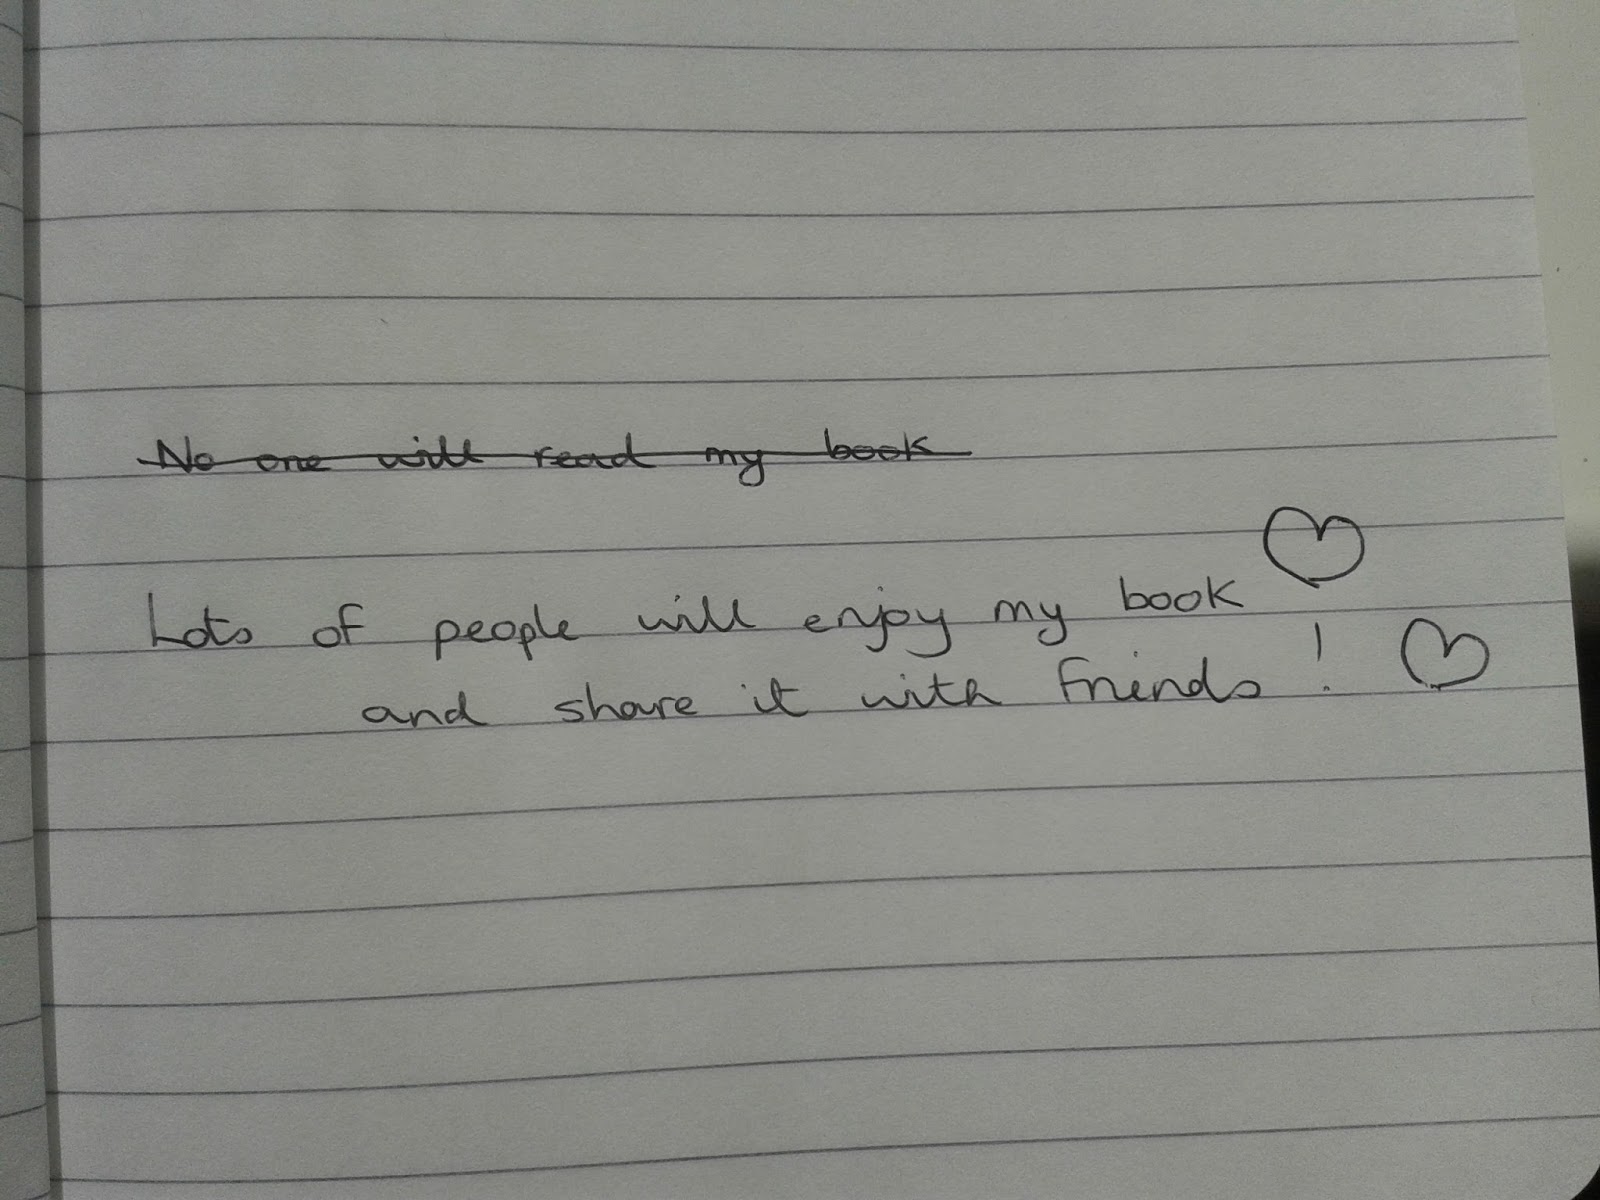
2. Once you have decided, you probably have concerns about getting the project done. Don't worry, it's completely natural. Write down a list of your worries. Then scribble them out and write the complete opposite. Don't let fear hold you back!


affirmations


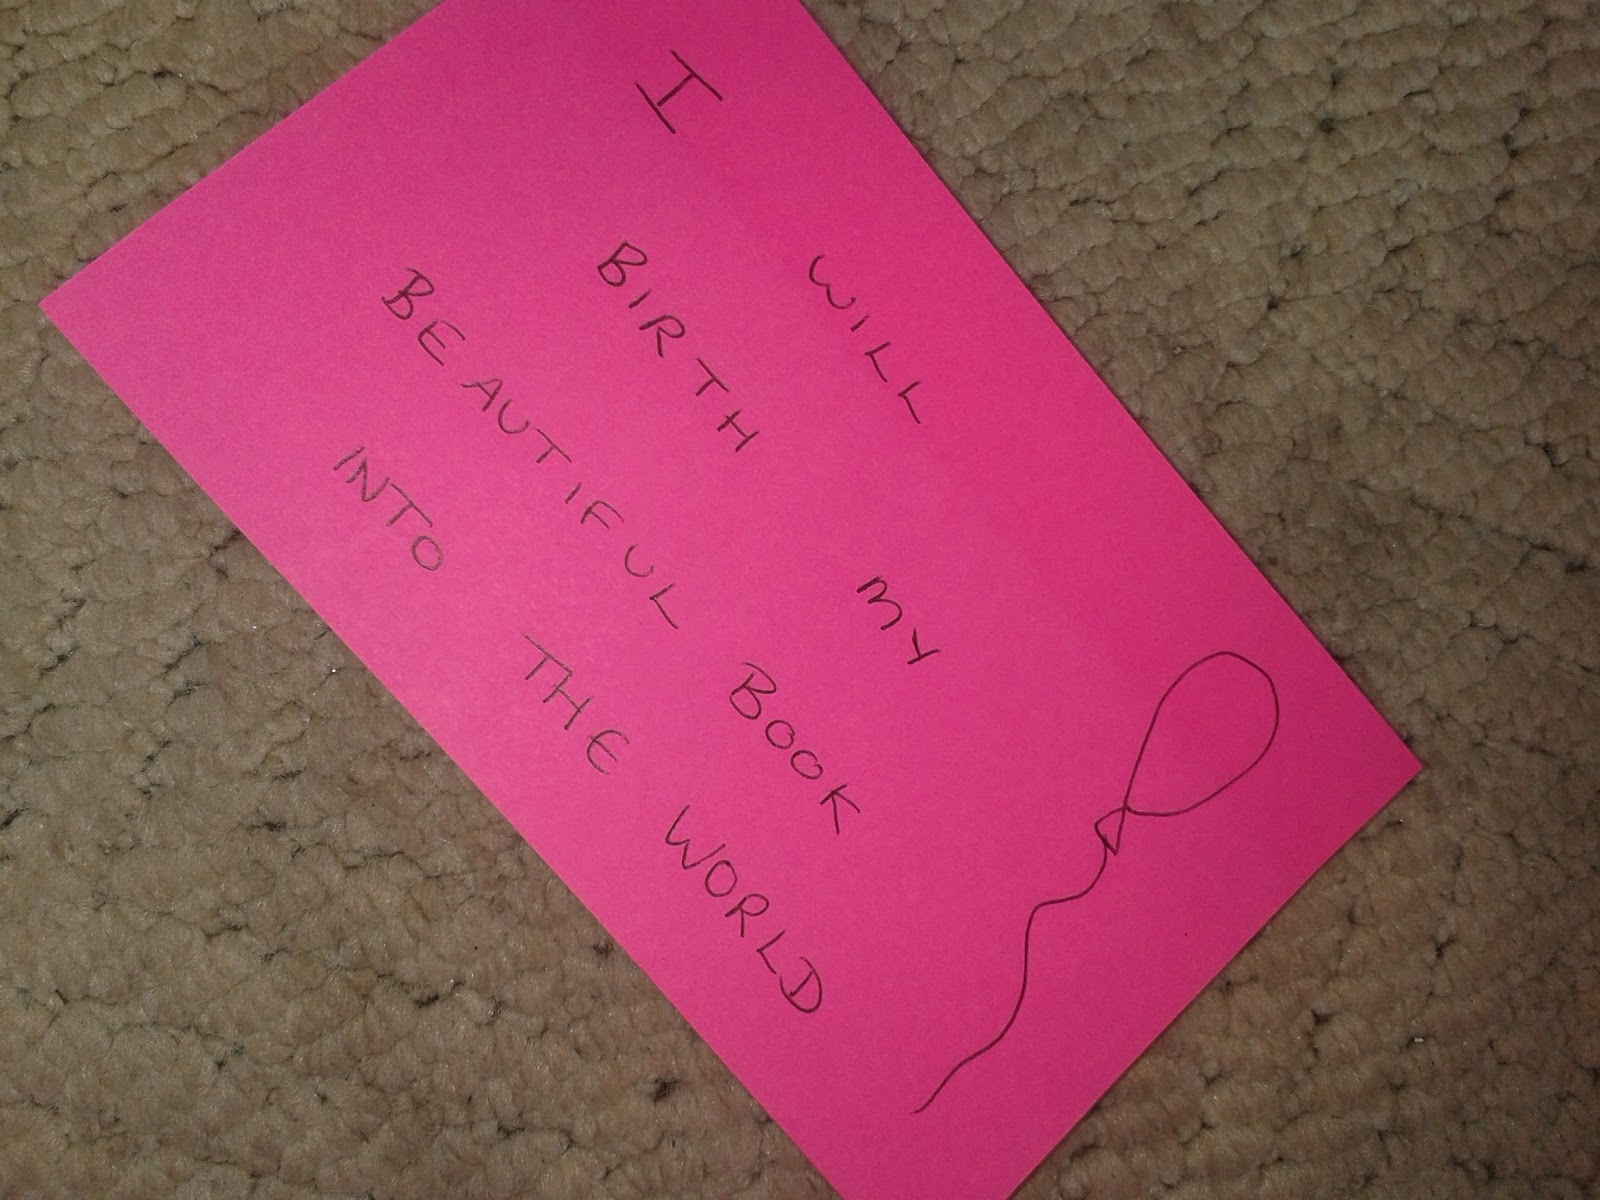
3. Get a pad of post its and write an affirmation on each piece of paper, in order to inspire you to complete the book. Write about how you want to feel as you write the book, and how you will be elated when you complete the project.


brainstorm


4. On a sheet of A4 paper, design a mind map of the book's outline. Don't overthink it, go with what feels natural for every chapter. Having a bubble for every chapter would be a good start. Enjoy using different pens and colours!


your map


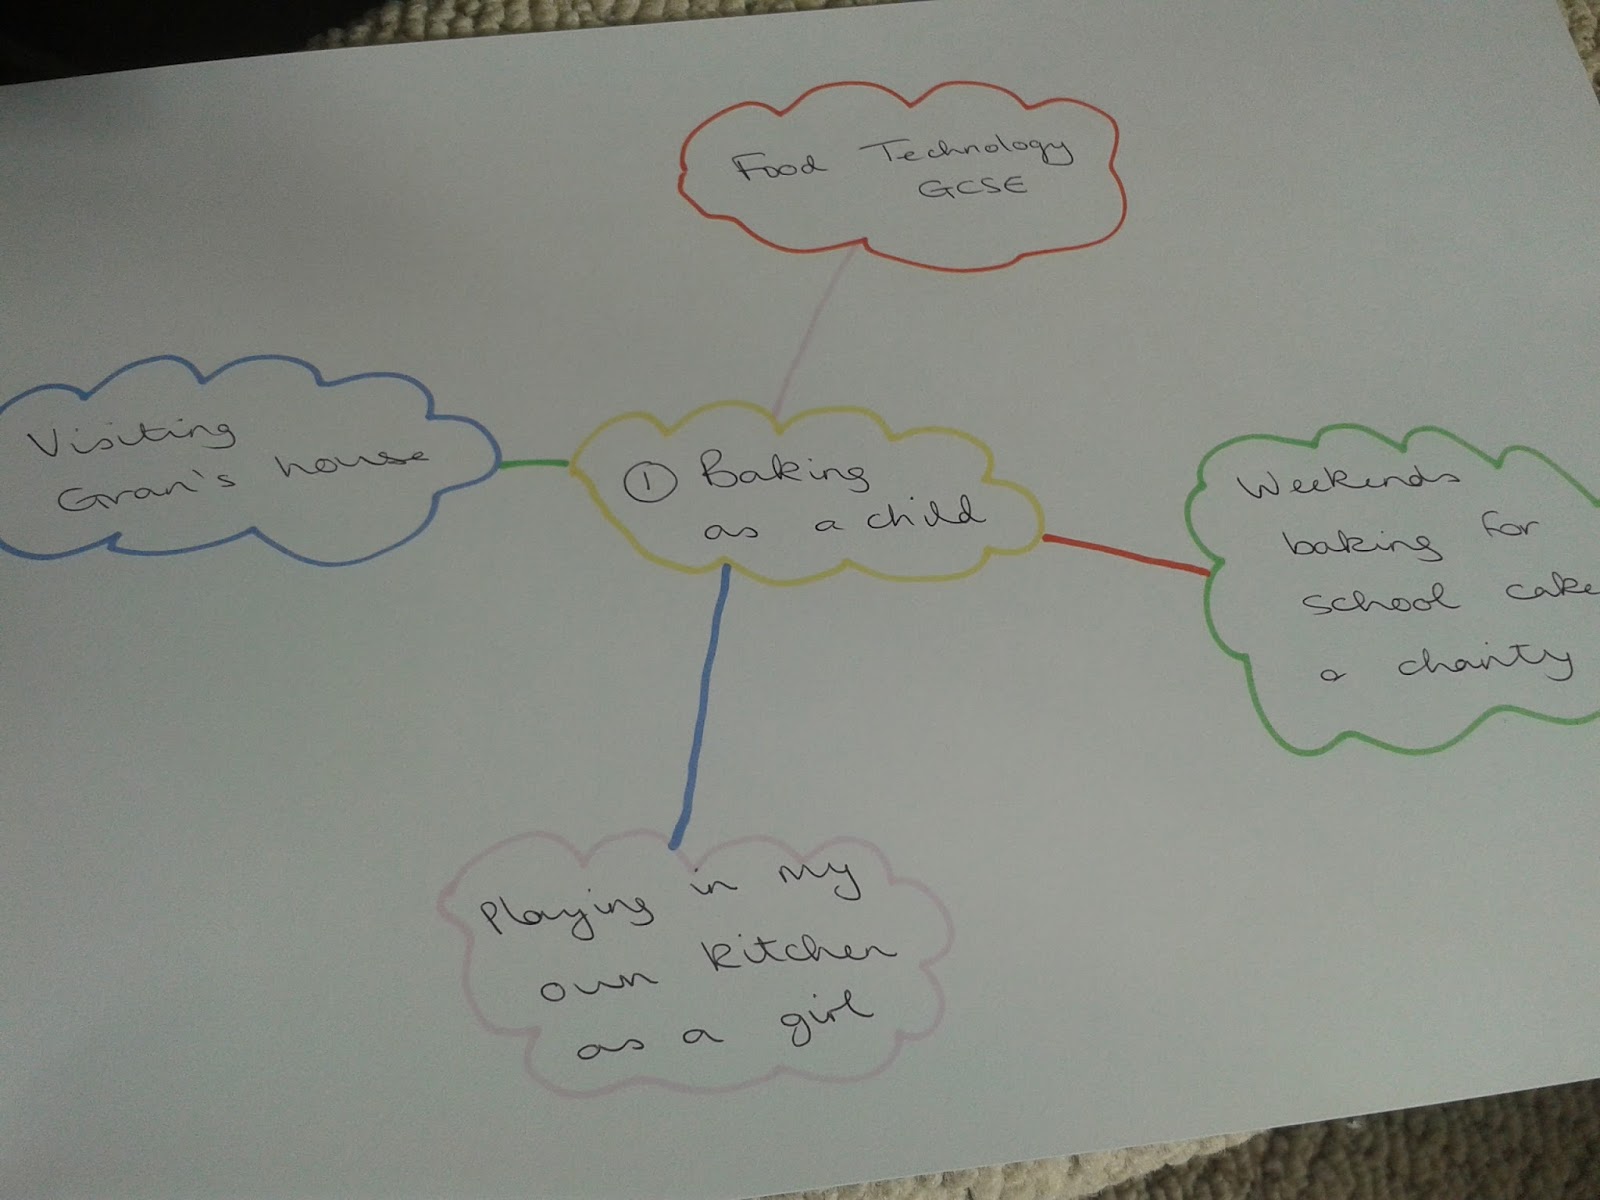
5. When you're happy with your chapter headings and can stick the map on the wall where you can see it, you can mind map each chapter with the important points to include in every one. Remember you don't have to find all content from scratch; you can use your blog posts, or journal entries. Look through your work or browse photos for inspiration and guidance on what to include in the book.


You now have a clear map of your book. Get to it and write!


And here's a little more about the lovely Llinos:


What inspires you?


I get lots of inspiration from nature, books and animals. I'm lucky to have a vivid imagination and a deep love of life.


Where do you get ideas?


I browse blogs and Etsy. I doodle and see where the journey takes me. I always have a stock of pretty paper or paints to get ideas flowing.


How long have you been creating products?


I first got in touch with my creative nature and began making candles about 5 years ago. Then I drifted away from it, and in 2012 developed a love of making art and cards. All my life I have written stories and articles.


What is your biggest dream for the future?


My big, beautiful dream is to set up my own successful Etsy shop and inspire women with my card designs and affirmations. I also want to raise oodles of money for charity and write lots of books, fiction and non fiction, and release them into the world for the women who need them most.


Llinos


Llinos is a writer, speaker, fundraiser and creative soul who lives in Cardiff, UK. Find her at Inspiration After Illness or on Twitter @afterillness


If you enjoyed this tutorial and would like to be kept up to date with the whole series (happening across our whole team of blogs!) then simply follow my blog or click on the picture below to take you to our sign up page.
You will automagically receive sneak peeks of our upcoming tutorials and a FREE PDF EBook including all of our step by step tutorials at the end of the series. Just click on the pic below to get your goodies!


th big 20 20 event 400

Powered by Blogger.